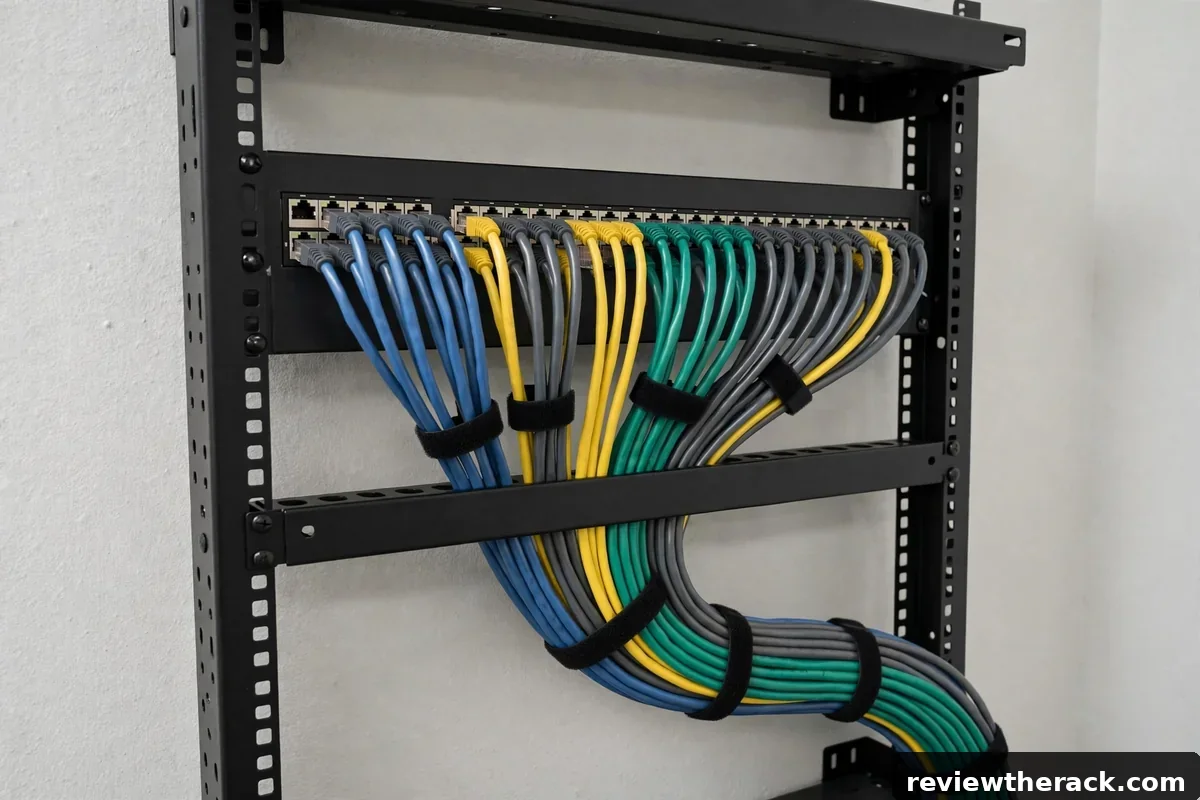
A patch panel is the organized front door of your network cabling: in-wall or permanent cable runs terminate at the back, and short patch cords connect the front to your switch. Instead of fragile in-wall cables plugged directly into expensive switch ports, you get labeled, numbered, testable ports in a fixed 1U or 2U panel. For any installation with more than a handful of runs — homelab, office, or small business — a patch panel turns cable chaos into a system.
What a patch panel actually does
Think of it as a switchboard. Permanent horizontal cabling (the runs inside walls, ceilings, or conduits to room outlets) is punched down or terminated at the rear of the panel, once, and never touched again. Day-to-day changes happen at the front with short, cheap, replaceable patch cords. Move a device from port 12 to port 20? Swap a one-meter cord at the front — no re-termination, no wall fishing, no risk to the permanent run.
This separation protects both sides: the permanent runs (expensive to install, annoying to replace) stay undisturbed, and the active gear (switches that get upgraded every few years) connects via disposable cords. It also makes everything testable — a cable tester at the panel verifies each run independently of whatever is plugged in.
Panel types: punch-down vs feed-through
Punch-down panels are the traditional choice: each rear port has insulation-displacement terminals where individual wire pairs are punched down with a punch tool. Rock-solid and permanent, and the skill is learnable — practice on a spare jack before doing 24 ports live. Best for new installations where you are running and terminating the cable yourself.
Feed-through (coupler) panels have jacks front and back — you plug a pre-made cable into the rear instead of punching down. Faster, tool-free, and ideal for shorter runs or when you buy pre-terminated cable assemblies. Slightly more expensive per port and one more connection in the chain, but dramatically easier for beginners.
Both come in Cat6, Cat6a, and fiber variants — match the panel rating to your cable and your actual needs. For most homelabs and offices, Cat6 panels are the sane default; Cat6a if you are running 10-gigabit over copper distances that need it. Do not mix ratings in a single run and expect the higher one.
Placement and port count
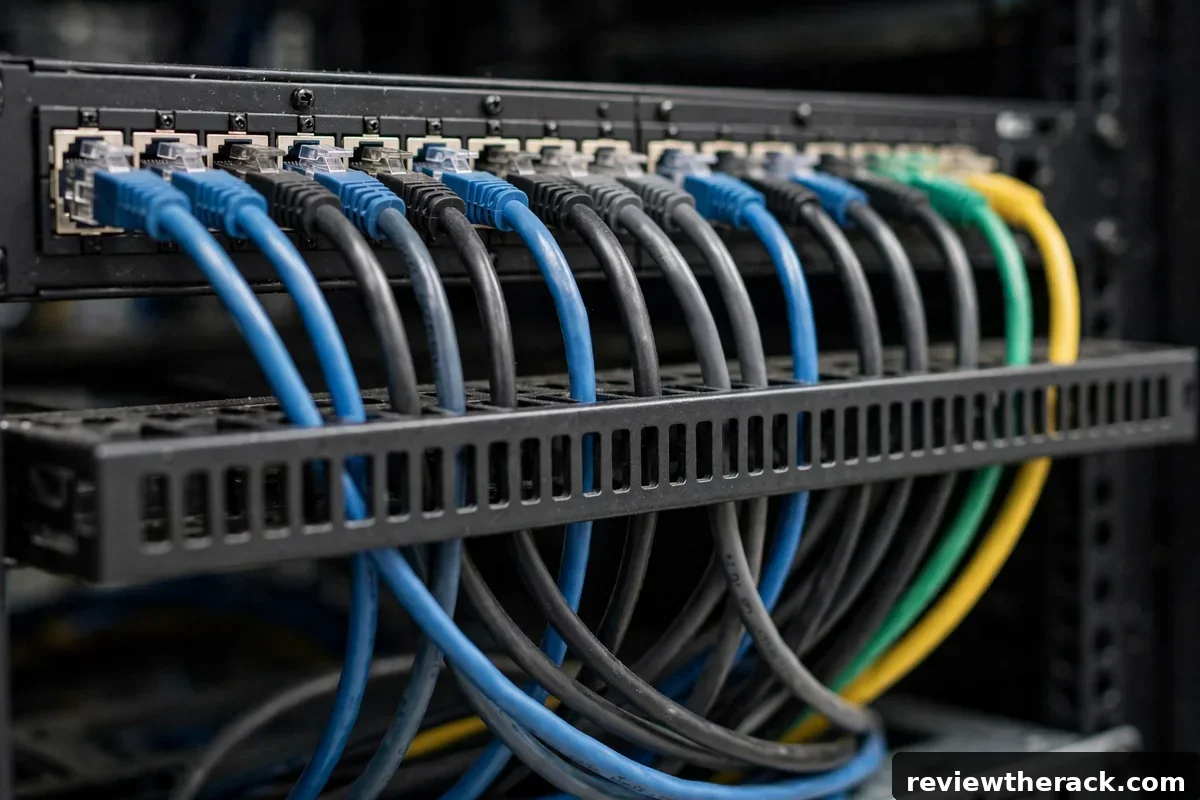
Placement: mount the patch panel directly above (or below) the switch it serves, with a 1U horizontal cable manager between them. Short 0.3–0.5 m patch cords then make neat vertical hops — the classic tidy look. In a U plan, budget 1U for the panel plus 1U for the manager per switch served.
Port count: 24-port panels are the standard 1U unit; 48-port panels exist in 1U–2U. Count your runs, add 30–50% headroom (runs are cheap during construction, miserable to add later), and round up to full panels. An office with 14 drops wants a 24-port panel, not a 16-port one — the empty ports are future-proofing, and empty ports cost little.
Label the panel to match the room outlets: port 7 goes to “Office 2, north wall,” and both ends carry the same identifier. Panel labeling is half the value of the panel — an unlabeled patch panel is just a neat-looking mystery. Our labeling guide has schemes that last.
Termination tips for beginners
Keep pairs twisted to the termination point. Untwisting more than about 13 mm of pair degrades performance — punch down with minimal untwist. Follow one wiring standard (T568B is the common default in most regions) on both ends of every run, consistently. Test every run with a basic continuity tester at minimum; a wire-map tester that verifies pin-to-pin correctness is worth its modest cost.
Leave service loops — a loop of spare cable behind the panel (30 cm or so) lets you re-terminate without pulling new cable. Dress the rear neatly: bundle incoming runs into the panel’s rear cable manager or support bar so the terminations carry no weight. A tidy rear is as important as a tidy front; it is just photographed less.
Common beginner errors: splitting pairs across the wrong pins (works at 100 Mbps, fails mysteriously at gigabit), nicking conductors with the punch tool, and forgetting to test before closing up the walls. Test before the drywall goes back.
A note on fiber panels
Fiber patch panels (often called LIUs or enclosures) work on the same principle with different media: pre-terminated fiber trunks or spliced pigtails land in adapter panels, and short fiber jumpers connect to gear. Respect fiber’s larger bend radius religiously, keep dust caps on unused adapters, and never look into a live fiber connector.
For most homelabs, fiber enters the picture as a couple of 10-gig uplinks, not a full fiber plant — a small fiber panel or even direct switch-to-switch jumpers suffice. Do not overbuild; fiber is wonderful but copper handles the vast majority of small-site needs.
Maintenance and moves
A labeled, tested patch panel needs little maintenance: keep the front cords tidy (short cords, manager below), dust occasionally, and re-test runs after any construction work nearby. Document the port map — a simple spreadsheet or a printed sheet taped inside the rack door — showing port, room outlet, and what is connected.
Moves and changes are the payoff: repatching takes seconds, new drops land on labeled spare ports, and the permanent plant stays untouched for decades. That is the whole argument for the panel, realized every time the network changes without a crisis.
Punch-down technique, step by step
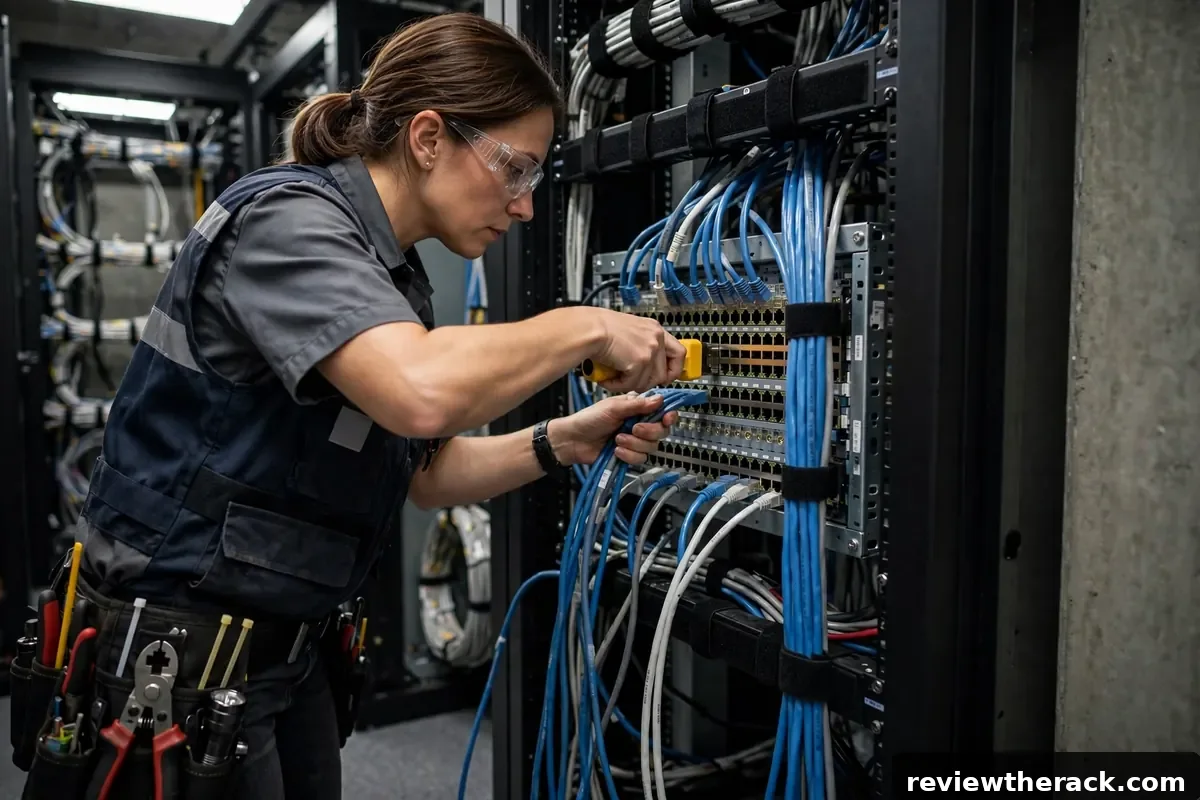
Punch-down termination is a learnable manual skill, and the learning curve is one practice jack, not one ruined installation. The sequence for each wire: strip the jacket carefully (score, do not nick the conductors), untwist only the pair you are terminating and only as far as needed (under 13 mm of untwist preserves performance), seat the wire into its slot following your wiring standard (T568B unless you have a reason otherwise), and punch with a 110-style punch tool — one firm, decisive stroke that seats the wire and trims the excess in the same motion.
The beginner errors are consistent enough to warn against explicitly: splitting pairs across wrong pins (the cable “works” at 100 Mbps and fails mysteriously at gigabit — the classic), nicking conductors while stripping (creates a future break point), and re-punching repeatedly (each punch weakens the contact; get it right the first time, re-terminate with a fresh jack if you must redo). After every panel — not after every roomful of panels — test: a wire-map tester confirming pin-to-pin correctness catches the errors while the tools are still out. Practice on a spare jack and a scrap cable until the motion is boring; boring is the goal.
Documenting your patch panel
An undocumented patch panel is a labeled mystery — better than unlabeled, but still a mystery. The port map is the document: for every port, the room outlet it serves, the cable identifier, and what is currently connected. A spreadsheet works; a printed sheet in a sheet protector taped inside the rack door works better (it is there when the network is down and the spreadsheet is unreachable).
Keep the map synchronized with reality: update it during the change, not after — “after” becomes “never” with remarkable reliability. When a port’s purpose changes, update the map and the physical port label in the same motion. And photograph the panel front and rear annually; photos are timestamped evidence of what the documentation claims. The map’s real audience is future-you at 11 PM, or the next person entirely — write for someone who has never seen the rack, because eventually, that someone will be you.
When to call a professional
DIY termination is satisfying and educational — until the scale or stakes exceed the learning value. Call a professional cabler when: the run count exceeds a couple of dozen (pros terminate faster and test rigorously), the runs go through plenum spaces or between floors (fire code and cable ratings get real — plenum-rated cable, firestopping, permits), or the installation must be certified (businesses, leased spaces, and insurance situations where a test report matters).
What a good pro delivers beyond terminations: certification test results per run (not just continuity — full performance certification), as-built documentation (the port map, done right), and labeling to a professional standard. The cost is real but bounded — and for in-wall infrastructure that will serve for decades, it is the cheapest part of the building. DIY the patch cords and the rack end all day long; let the pros own the walls. Knowing which work is yours and which is theirs is the most professional decision of all.
Frequently asked questions
Do I need a patch panel for a homelab?
If you have in-wall runs to multiple rooms, yes — it is the professional way to terminate them. For a single-room rack with no permanent runs, you can patch directly, but a small panel still adds order.
Punch-down or feed-through for a beginner?
Feed-through for speed and simplicity; punch-down for permanence and lower per-port cost. Both work — pick based on whether you are running raw cable or pre-made assemblies.
How many ports should I plan?
Count drops, add 30–50%, round up to 24-port increments. Cable is cheap during construction; regret is expensive later.
Can I mix Cat6 and Cat6a in one panel?
Use panels rated for your cable. A run performs at its weakest component’s rating — see cabinet planning for fitting panels into the build.
Related guides: planning U for panels and managers and fitting it all in the cabinet.

