
Every watt your rack consumes becomes heat, and heat is the silent killer of reliability. Servers throttle, fans scream, components age faster, and in the worst case gear shuts down mid-task. The good news: basic rack cooling is not complicated. Servers are designed to breathe front-to-back, and your job is simply to give cool air a clear path in the front and hot air a clear path out the back. This guide explains those airflow paths and the simple habits that keep temperatures in check.
Front-to-back: the one rule
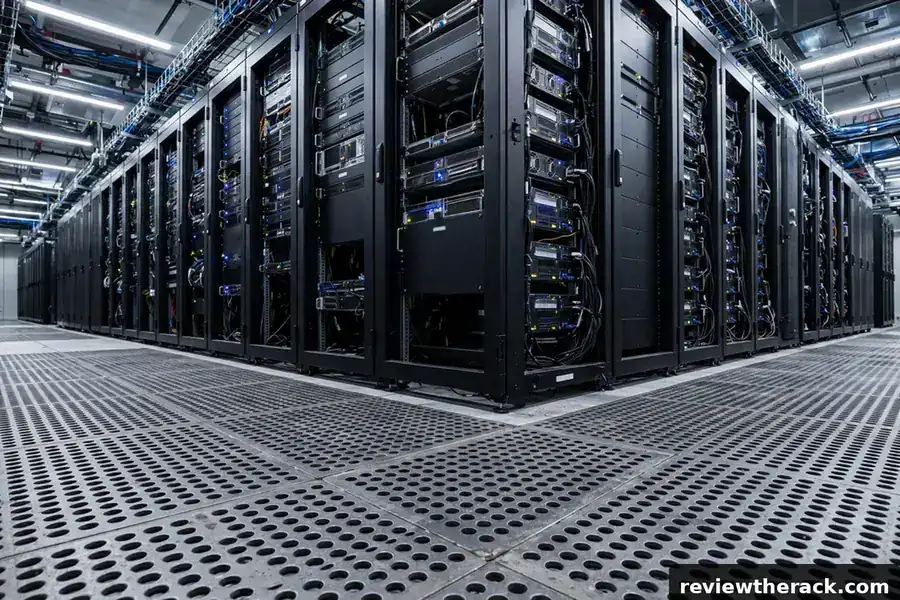
Nearly all rack-mount servers and network gear move air from front to rear: cool room air enters through the front bezel, passes over hot components, and exhausts out the back. This single convention is the foundation of all rack cooling design. Your layout succeeds when the front of the rack always sees the coolest available air and the rear always has somewhere for hot air to go.
Violations of this rule cause most small-rack heat problems. A rack pushed against a wall with no rear clearance recirculates its own exhaust into… nowhere good — hot air pools behind the cabinet and eventually finds its way back to intakes. A cabinet with solid front doors starves intakes of air. Devices installed backward (it happens, especially with repurposed gear) fight every other device in the rack. Walk through your rack with this rule in mind and half of all cooling issues reveal themselves immediately.
The industry’s thermal guidance comes from ASHRAE, whose published recommended envelope for data-center environments centers on roughly 18–27°C intake air — a useful reference point even for small rooms. You do not need data-center precision, but knowing the target range helps you judge whether your closet is “warm” or “actually a problem.” See ashrae.org for the organization’s thermal guideline work.
Blanking panels: the cheapest upgrade
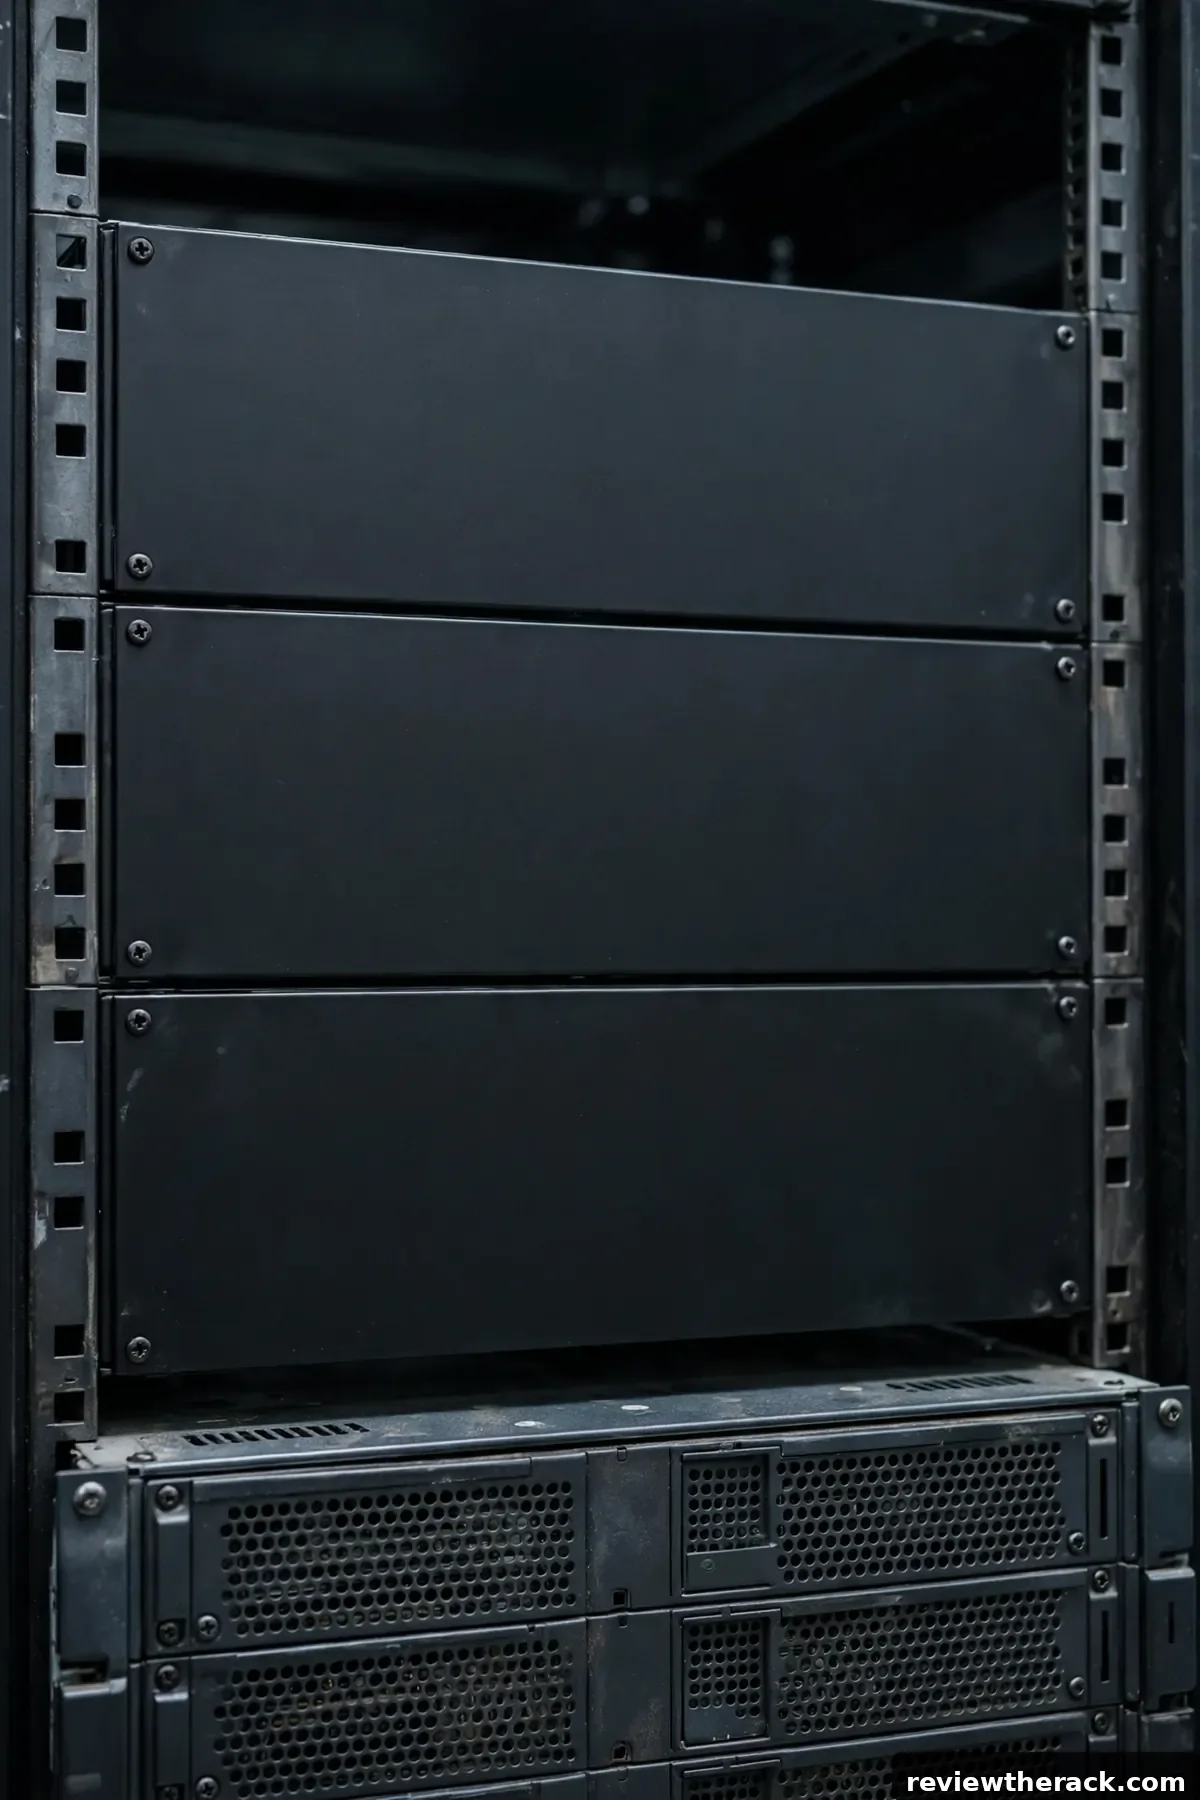
Empty rack slots are cooling leaks. Without blanking panels, hot exhaust air recirculates through empty U straight back to server intakes — the fans work harder, temperatures climb, and noise rises. Blanking panels are flat plates that fill unused slots, forcing air to travel the intended front-to-back path through actual equipment.
This is the highest-value cooling purchase in the rack world: a handful of panels, a few minutes to install, and measurably lower intake temperatures. Fill every empty U. It looks tidier, it cools better, and it costs less than almost any other upgrade you will make. If you do one thing from this guide, do this.
While you are at it, seal other bypass paths: brush strips on cable entries, filler panels around half-width devices, and no gaping holes in the cabinet. Air is lazy — it takes the easiest path, and your job is to make the intended path the easiest one.
Layout habits that prevent hot spots
Heaviest heat at the bottom, lightest at top is the starting layout — heat rises, so giving hot devices the coolest (lowest) intake air helps. In practice, weight and cabling often dictate placement more than thermals; the key habit is simply leaving 1U gaps with blanking panels between heat-dense devices rather than stacking them cheek by jowl.
Separate intake and exhaust sides of the room. Even with one rack, position it so the front faces the room’s cool air source (a vent, a doorway, the AC outlet) and the rear faces away or toward exhaust ventilation. Do not aim the rear exhaust at the front intake of anything — including itself via a nearby wall.
Keep intake filters clean and fronts unblocked. Front bezels, doors, and any filters need periodic attention; a clogged filter quietly strangles airflow over months. And never stack boxes, spare cables, or paperwork against the front or rear of the rack — the “temporary” pile becomes permanent, and the temperatures tell the story.
Room cooling vs rack cooling
Distinguish two problems. Rack cooling is airflow management inside and immediately around the cabinet — blanking panels, layout, fan trays. Room cooling is removing heat from the space — ventilation, air conditioning, exhaust fans. Good rack airflow cannot fix a sealed closet with no heat removal; the room just gets hotter until everything throttles.
For small loads (a few hundred watts), passive room ventilation — a louvered door, a transfer grille, a quiet exhaust fan — is often enough. For kilowatt-plus loads in small rooms, you need real heat removal: either air conditioning or ducted exhaust to elsewhere. Do the rough math: 1000W of gear is roughly a 3400 BTU/h space heater running 24/7. Size room cooling to that reality, not to hope.
When room cooling is the constraint, rack fan trays help move heat out of the cabinet, and hot-aisle/cold-aisle layout organizes even small rooms for better efficiency. But no rack-level trick substitutes for removing heat from the room itself.
Monitoring: know your temperatures
You cannot manage what you do not measure. At minimum, know your hottest device’s intake temperature — a cheap thermometer or a stick-on sensor at the front of the rack tells you more than any amount of theorizing. Many servers report inlet temperature via their management interfaces; check yours.
Set simple thresholds: investigate when intake air consistently exceeds the high end of comfort (think mid-20s °C and climbing), and act before thermal throttling or shutdowns. Trends matter more than snapshots — a rack that gains a degree a month has a developing problem (dust, a dying fan, growing load) worth catching early. Start simple: one sensor, checked monthly, beats an elaborate monitoring system nobody looks at.
For growing setups, environmental sensors that log temperature and humidity and alert on thresholds are a modest investment with real payoff — especially for racks in places you do not visit daily. Smart PDUs with sensor ports can combine power and environmental monitoring in one device.
The noise trade-off
Cooling and quiet are natural enemies: moving more air means faster fans means more noise. Homelabs in living spaces feel this acutely. The way out is efficiency, not brute force — blanking panels, good layout, and moderate room temperatures let fans run slower for the same cooling. A well-organized rack at 24°C room temperature is quieter than a chaotic rack at 30°C, because the fans do not have to work as hard.
Resist the urge to “fix” heat with maximum fan speed everywhere. Faster fans have diminishing returns and real noise costs. Fix the airflow path first (panels, layout, clearances), then add targeted active cooling only where measurements show it is needed. Quiet and cool coexist — they just require design rather than decibels. See building a quiet homelab rack for the full noise-control approach.
Seasonal changes and ambient drift
Cooling is not a set-and-forget calculation because ambient conditions drift. Summer raises the baseline: the room that sat at 22°C in March sits at 28°C in July, and every fan works harder for the same result. HVAC systems cycle differently under load, sun-facing rooms gain heat through the day, and a rack that was thermally comfortable in winter can edge toward its limits in August. The fix is seasonal awareness, not seasonal panic.
Twice a year — when heating and cooling seasons change — re-baseline your temperatures: log intake temperatures at the top, middle, and bottom of the rack over a few days, compare against your previous baseline, and adjust. The adjustments are usually small: a fan curve tweak, a vent opened, blanking panels checked after a spring hardware shuffle. Racks that get this ten-minute seasonal review never surprise their owners; racks that do not, eventually do.
Cooling for network-only racks
Not every rack is a furnace. A network-only rack — patch panels, a switch or two, a router, maybe a small firewall — might dissipate a few hundred watts total, an order of magnitude less than a compute rack. For these, passive cooling often suffices: perforated doors, sensible placement (not in a sealed closet), and convection doing the quiet work. The mistake is applying compute-rack cooling doctrine to a rack that barely warms the air.
That said, “low heat” is not “no heat,” and network gear has its own thermal quirks: fanless switches rely on ambient airflow and punish sealed installations; PoE switches run warmer than their port counts suggest (budget the PoE power, not just the switch’s own draw); and stacked gear still needs its exhaust path clear. Monitor for a week after installation — if intake temperatures stay in the low-to-mid 20s °C without fans, the passive approach is validated. Add active cooling only when measurements, not anxiety, demand it.
Dust management as cooling maintenance
Dust is a thermal insulator: a millimeter of dust on heatsinks and fan blades measurably degrades cooling, forcing fans faster and hotter for the same work. In other words, dust is not a cosmetic issue — it is a cooling issue that compounds silently. The maintenance is unglamorous and essential: quarterly cleaning with compressed air or a vacuum with a soft brush attachment, heatsinks and fan intakes first, filters (if fitted) on schedule.
Prevention beats cleaning: enclosed cabinets with filtered intakes admit far less dust than open frames in the same room; keeping the rack room itself clean (no cardboard storage shedding fibers nearby, floors mopped not just swept) reduces the load at the source. And never use a household vacuum directly on electronics without an ESD-safe attachment — static discharge kills components faster than dust ever could. Clean gear runs cooler, quieter, and longer; the ten minutes per quarter is among the highest-ROI maintenance in the building.
Frequently asked questions
How hot is too hot for a server rack?
As a rule of thumb, keep intake air in the low-to-mid 20s °C; sustained intake temperatures climbing toward 30°C+ deserve investigation. Watch your specific gear’s specs — some tolerates more — but rising trends always warrant attention.
Do I need air conditioning for a homelab rack?
Not necessarily. A few hundred watts in a ventilated room is fine passively. Past roughly a kilowatt in a small closed room, you need active heat removal — ventilation, exhaust, or AC.
Are blanking panels really necessary?
Yes — they are the single cheapest effective cooling improvement. Empty slots without panels let hot exhaust recirculate directly to intakes.
Should hot devices go at the top or bottom?
Bottom is the conventional advice (heat rises, coolest air is low), but weight, cabling, and service access often decide placement. Either way, leave vented gaps between heat-dense devices.
Related guides: monitoring power and environment together and keeping it quiet.


1 thought on “Server Rack Cooling Basics: Airflow Paths Explained”