An enclosed server cabinet is the most capable — and most consequential — rack purchase most buyers make. Doors, side panels, locks, cable entries, ventilation, and rails all have to be right, because fixing a wrong cabinet means a full re-rack. This guide is a pre-purchase inspection list: what to check, what to measure, and which details separate a ten-year cabinet from a three-year regret.
Doors and panels: the first inspection
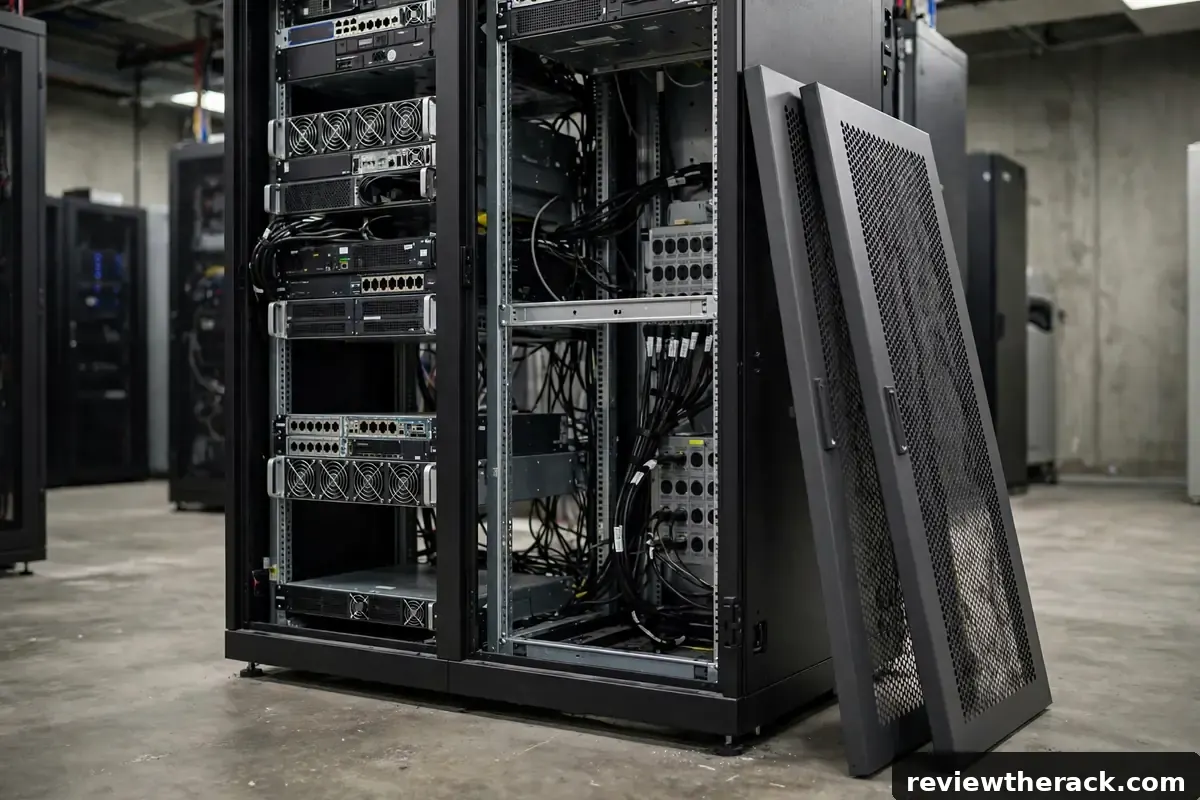
Start with the doors, since you will touch them daily. Front doors come in three flavors: perforated (best airflow, the default for servers), glass (visibility and looks, less airflow), and solid steel (maximum security and noise reduction, least airflow). For heat-dense gear, perforated is the safe choice; glass suits low-power network builds. Check that doors close squarely, latch without force, and can be removed or reversed — you will thank reversible hinges when the room layout changes.
Side panels should be removable for installation access and lockable (or tool-removable) for security. Split side panels — upper and lower halves — are easier to handle on tall cabinets than full-height slabs. Rear doors deserve equal attention: they carry the exhaust heat, so perforation matters here too, and many cabinets offer split rear doors that need less swing clearance in tight rooms.
Fit and finish tell you about manufacturing quality. Doors that rack or bind, panels with sharp punched edges, and latches that need a shove all signal a cabinet that will annoy you for years. If you can inspect in person, open and close everything; if buying online, read reviews specifically about door and panel quality.
Ventilation: the make-or-break spec
Ventilation is where enclosed cabinets succeed or fail. Look for high-percentage perforation on front and rear doors — the more open area, the less the doors impede airflow. Vented top panels let rising heat escape; some cabinets offer fan-tray mounting positions up top for active exhaust. Brush-sealed cable entries keep air (and dust) from bypassing the intended front-to-back path.
The red flag is a beautiful sealed box: solid doors, no vents, no fan positions. It will look premium in photos and cook servers in practice. This matters more as gear density rises — even modest homelab servers generate real heat, and our cooling basics guide explains the airflow paths your cabinet must support.
Ask about fan options even if you do not need them today. A cabinet with standard fan-tray mounting gives you an upgrade path; one without means improvising later. The incremental cost of fan-ready design is small at purchase and large as a retrofit.
Rails, structure, and weight rating
Mounting rails should be standard square-hole (cage-nut) rails, adjustable front-to-back, with positive locking at each position. Verify the adjustment range covers your needed mounting depth — see rack depth explained — and that the rails feel rigid, not flexy, when extended. Numbered U markings on the rails are a small feature with outsized daily value.
Frame rigidity matters more than it looks. An empty cabinet that wobbles will only get worse loaded; twist in the frame binds doors and stresses rails. Welded frames are generally stiffer than flat-pack bolted ones, though good bolted designs exist — check assembly reviews. Weight rating must cover your loaded total with margin: sum device weights, add 20%, and confirm. Remember that ratings sometimes assume evenly distributed static load — a top-heavy configuration on casters is a different engineering question.
Casters vs. leveling feet: casters (preferably locking, preferably braked) make installation and rear service dramatically easier; leveling feet are more stable and cheaper. Many cabinets ship with both — if yours offers only one, choose based on whether you will ever need to move the loaded cabinet.
Cable entries and management
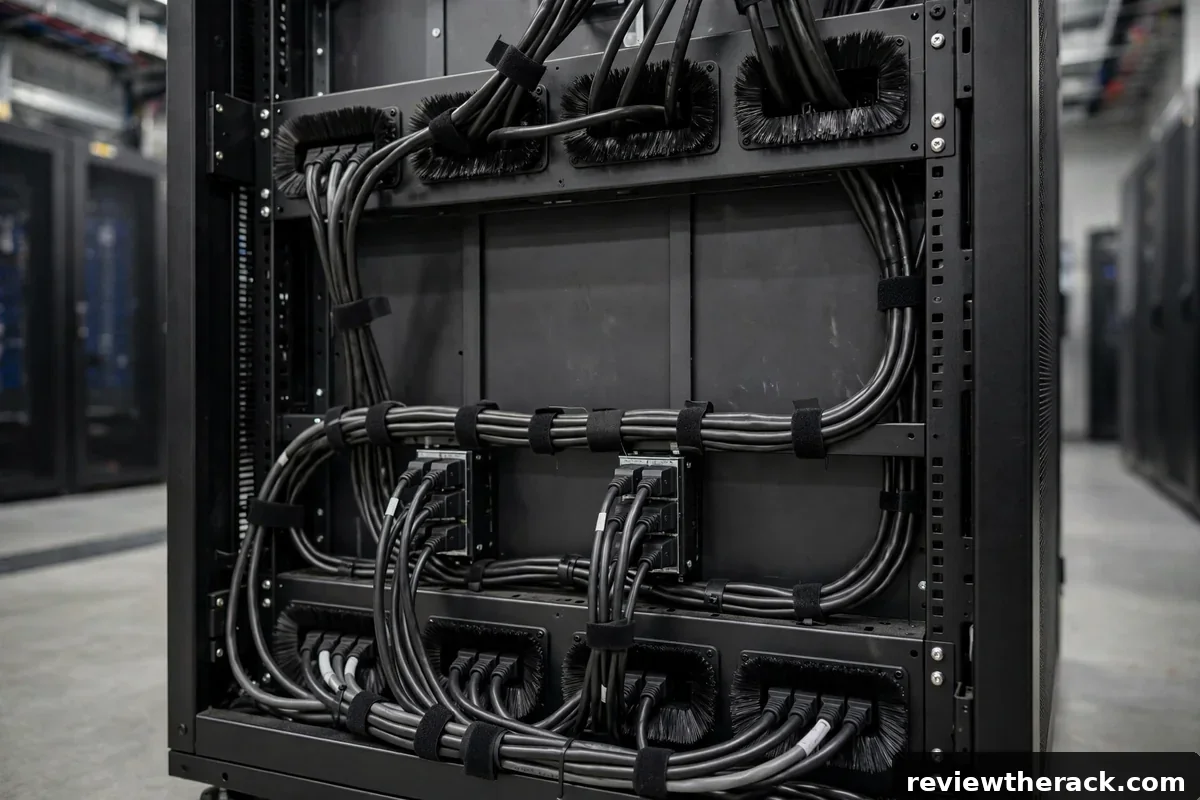
A cabinet lives or dies by its cable handling. Look for generous cable entries top and bottom — brush strips are ideal (they pass bundles while blocking airflow bypass and dust), large cutouts with grommets are good, sharp-edged punched holes are a warning sign. Entries should exist at both top and bottom so cables can enter from whichever direction your room dictates.
Inside, check for vertical cable managers on the sides and mounting points for horizontal managers. Zero-U space behind the rails for vertical PDUs is a major plus — it keeps power distribution off your rail U. If the cabinet includes cable managers, check they are deep enough for your bundle sizes; shallow managers on a dense build are decorative.
Plan the full cable path before buying: where cables enter, how they route to each device, and where slack lives. Sketch it roughly — five minutes with the cabinet’s dimensional drawing prevents the “cables have nowhere to go” discovery on installation day. Our cable management basics and routing hardware comparison help with the plan.
Locks and security details
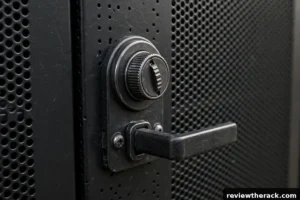
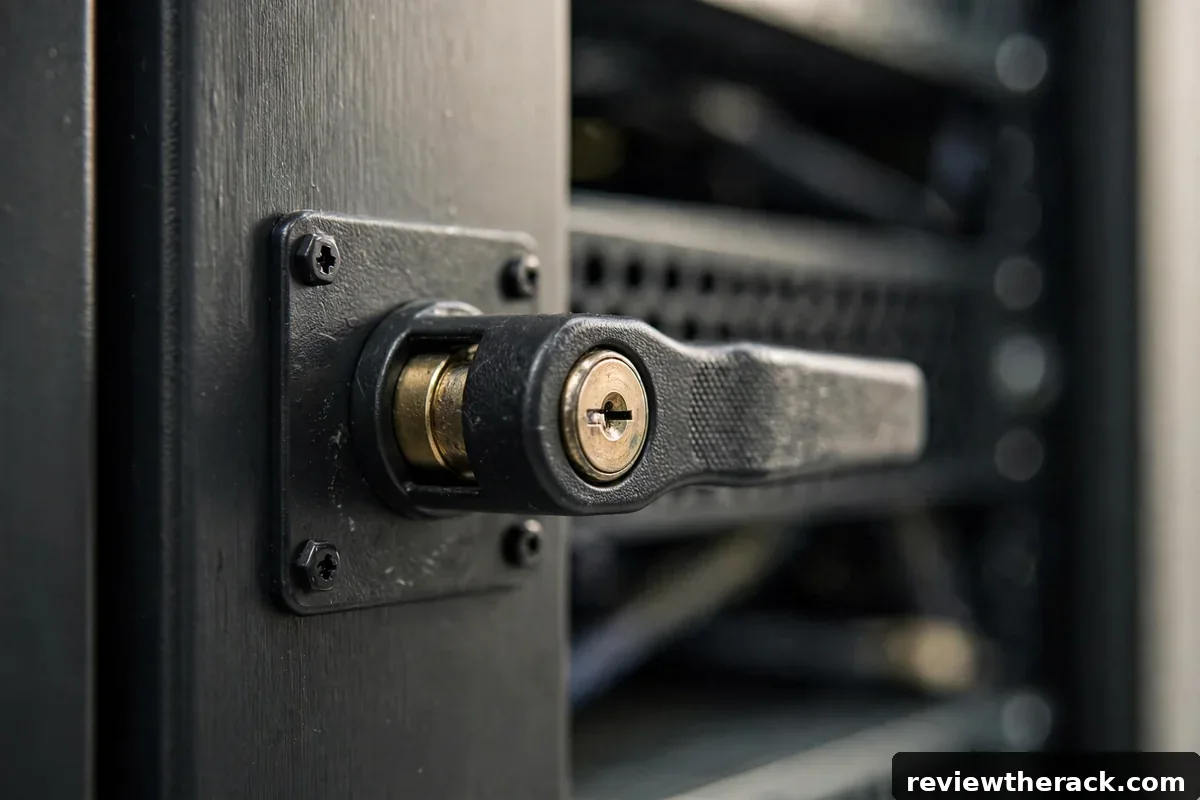
Check what actually locks: front door, rear door, and each side panel should lock independently or require tools for removal. Keyed-alike cylinders across all doors mean one key; coded handles remove keys entirely for shared spaces. Neither is “better” universally — keys are simple and cheap, codes avoid key management — but the cabinet should offer the option your situation needs.
Beyond the cabinet itself, think about anchoring. A locking cabinet that can be wheeled away is a locked box full of stealable gear. Floor anchors, wall tethers, or simply removing the casters in favor of leveling feet all raise the bar. Full physical-security thinking lives in securing your server rack.
Sizing, power fit, and the room
Run the standard sizing process — U count plus headroom from how to choose the right rack size — then verify power fit: vertical PDUs need rear rail depth clearance; horizontal PDUs consume 1–2U; the UPS needs depth, ventilation, and a bottom position for its weight. Size the UPS per our UPS guide and confirm the cabinet’s weight rating with batteries included.
Finally, the room: overall depth with doors open and closed, doorway widths on the delivery path, floor loading, ventilation for the heat you will exhaust, and noise tolerance for the gear you will install. A cabinet is a ten-year roommate — introduce it to the room properly. Our room planning guide covers the checklist.
Grounding and bonding the cabinet
Every metal cabinet should be bonded to ground — it is a safety fundamental, not an optional extra. Grounding gives fault currents a safe path, drains static buildup, and provides the reference plane that keeps sensitive gear happy. Most quality cabinets include grounding studs or bus bars; use them. A star washer under each ground lug bites through paint and ensures metal-to-metal contact — paint is an insulator, and a ground lug on painted steel is decoration.
The practical setup: a ground bus bar (vertical, inside the rear) bonded to the cabinet frame, with individual ground conductors from each rail or device chassis back to the bar, and the bar bonded to the building ground via the PDU’s ground or a dedicated conductor. Keep ground conductors short and direct — daisy-chaining grounds through devices defeats the purpose. If the words “isolated ground” or “ground loop” start appearing in your troubleshooting, the cabinet bonding is the first thing to verify, not the last.
Leveling, casters, and staying upright
A cabinet that rocks is a cabinet that stresses rails, binds sliding servers, and — at the extreme — tips. Leveling feet are the default for static installations: wind them down until the cabinet is solid and level, with weight on the feet, not the casters. Casters are for cabinets that need to move (service access in tight rooms); rate them for the fully loaded weight with margin, lock them when stationary, and never roll a loaded tall cabinet over thresholds or cables — tip-overs happen during moves, not during operation.
For tall or top-heavy installations, consider anti-tip measures: anchoring the cabinet to the floor or wall, or simply keeping the heaviest gear (UPS, batteries) at the very bottom, which lowers the center of gravity more than any accessory. The rule is simple physics — heavy low, light high — and it applies from the first device you mount. A stable rack is a quiet mind.
Fire safety and the cabinet
Server cabinets concentrate electrical energy, and fire safety deserves explicit thought. The fundamentals: never defeat overcurrent protection (no oversized breakers “to stop the tripping” — the tripping is the protection working), keep the cabinet’s ventilation paths clear (heat accumulation is the precursor), and do not store combustibles in or on the rack — the top of the cabinet is not a shelf for cardboard boxes. Cable insulation and dust are fuel; cleanliness is fire prevention.
Detection and suppression scale with the installation: a smoke detector in the rack room is the minimum for any serious setup, and for business installations, the room’s fire plan should explicitly include the IT equipment (what gets powered down, who is called, where the extinguishers are). A clean-agent or CO2 extinguisher near the rack room beats a water extinguisher near electronics — know which is which before the emergency. These are low-probability, high-consequence events; the preparation costs little and the regret costs everything.
Frequently asked questions
What should I check first on a used cabinet?
Rails (straight, adjustable, complete cage nuts), doors (close squarely, latch, locks work), and completeness (all panels, keys, and hardware present). Surface rust is cosmetic; bent rails are structural.
Are glass doors okay for servers?
For low-heat gear, yes. For heat-dense servers, perforated doors cool significantly better. Match the door to the heat load, not the aesthetics.
How important are side panels?
Very, for noise, dust, and security — and they are part of the designed airflow path. Removable, lockable split panels are the practical sweet spot.
Do I need a cabinet with a built-in fan?
Not necessarily at purchase, but fan-tray mounting positions give you an upgrade path. Passive-first with fan-ready design is the sensible default — see when to add fan trays.
Related guides: sizing the PDU to match and routing hardware options.