
A rack full of servers, storage, and network gear represents thousands in hardware and far more in data and downtime. Yet physical security is the most neglected layer: the firewall is configured, the passwords are strong, and the cabinet door swings open to anyone who walks in. This guide covers practical rack physical security — locks, access control, monitoring, and habits — for homelabs and small IT rooms.
The threat model here is realistic, not cinematic: curious visitors, cleaning staff, disgruntled ex-employees, opportunistic theft, and accidental damage (“I just unplugged something to charge my phone”). Defend against those and you have covered nearly everything a small site faces.
Lock types for rack cabinets
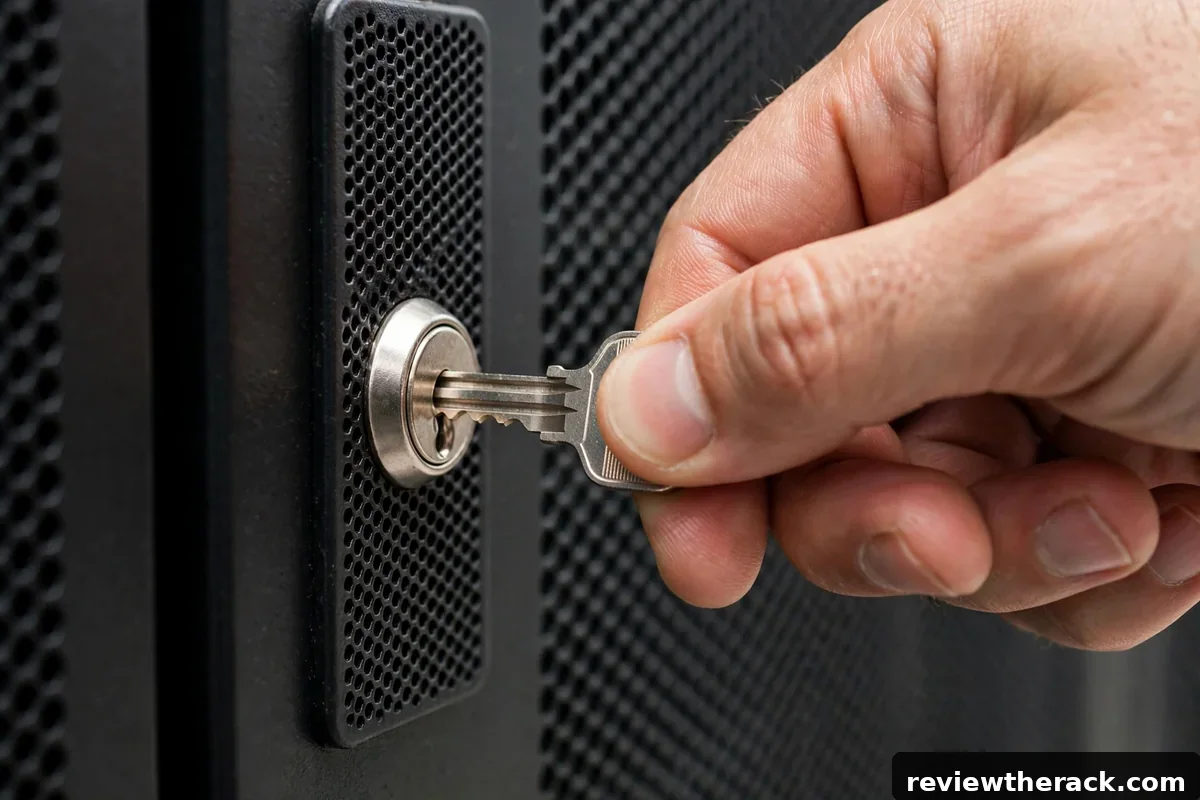
Keyed handles are the default: a key cylinder in the door handle, sometimes keyed alike across front, rear, and panels. Simple, cheap, effective — until keys multiply. Rekeying or replacing cylinders is straightforward on most cabinets. Keep a spare set off-site; a lost key plus a locked cabinet is its own emergency.
Combination / coded handles replace keys with a PIN. No keys to lose, codes to change when staff turns over, and audit-free simplicity. The trade-off is code hygiene: shared codes leak, so change them on personnel changes and avoid obvious codes. For shared IT rooms, coded handles are usually the better answer.
Electronic / networked locks add audit trails and remote management — who opened which door, when. Overkill for most homelabs, genuinely useful for multi-tenant or compliance-sensitive small businesses. They need power and network, which adds failure modes; keep a mechanical override.
Whatever you choose, verify every access point locks: front door, rear door, and side panels. A locking front door with tool-less removable side panels is theater, not security.
Access control beyond the cabinet
The cabinet is the last line, not the first. The room door should lock — a $20 door lock protects the rack better than a $200 cabinet handle if the room is otherwise open. Limit room keys, log who has them, and collect them when people leave. For homelabs, “the room” might be a closet or basement area; a simple locking door or even a lockable room partition changes the threat model completely.
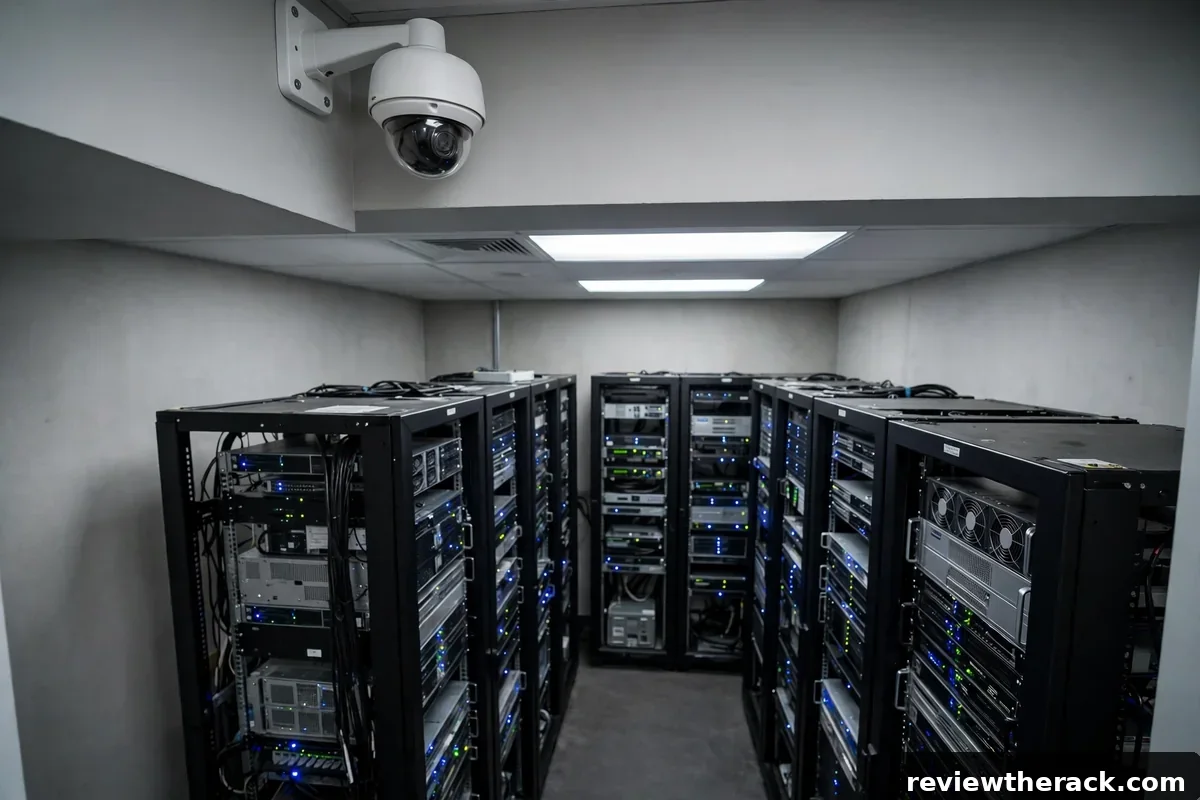
Cameras deter and document. A single camera covering the rack area and room entrance is enough for most small sites; it does not need to be fancy, just recording. Pair it with the lock: the lock keeps honest people honest, the camera keeps everyone accountable. Position the camera to see faces and hands at the rack, not just the room in general.
Asset habits close the loop: photograph serial numbers, keep a simple inventory (device, serial, rack position), and label gear as property of the organization. Labeled, inventoried gear is harder to walk off with and easier to recover.
What about open-frame racks?
Open frames cannot be locked — that is the trade. Security for open frames moves up a layer: the room must be the locked boundary. A locked server room with an open frame inside is a coherent design; an open frame in a shared office is not.
Practical measures: lock the room, camera the entrance, bolt the rack to the floor or wall so it cannot be tipped or carried off, and use locking cable ties or port locks on critical connections to prevent casual unplugging. Kensington-style locks on individual high-value devices add friction against grab-and-go theft.
Be honest about the residual risk. If the room cannot be secured — a shared workshop, a classroom, a retail floor — an open frame is the wrong choice regardless of its other virtues. That is exactly the scenario enclosed cabinets exist for, as compared in open-frame vs enclosed.
Power and cable tampering
Not all attacks are theft. An accidental or malicious unplug is downtime with no forensic trail. Mitigations are cheap: locking power cords (C13/C14 cords with locking tabs) resist casual pulls; cable retention brackets on PDUs do the same at the distribution end; port locks block unused network ports from “temporary” use.
UPS placement matters too: a UPS with an accessible power button is a single point of “oops.” Rack-mount UPS units behind a locked cabinet door solve this; a tower UPS under a desk does not. Our UPS sizing guide covers placement alongside runtime math.
Labeling helps here as well: clearly labeled cables and a “do not unplug” tag on critical runs will not stop a determined attacker, but they stop nearly all accidents — which are the far more common event. See cable labeling systems for durable approaches.
Habits and simple policy
Technology without habits leaks. A few policies that cost nothing: doors closed and locked by default — an unlocked locked door is just a door; no tailgating into the server room; visitor escort — nobody unbadged touches the rack alone; key/code hygiene — change codes and collect keys on departures; and regular checks — monthly, verify locks work, cameras record, and the inventory matches.
For homelabs, the “policy” is simpler: lock the room when you are away, do not post rack photos with visible addresses or access details, and think twice about who gets the Wi-Fi password versus who gets the closet key. The threat model is smaller but the principles are identical.
Document the basics even informally: who has access, where spare keys live, what to do if a lock fails. A half-page note taped inside the room beats a perfect policy nobody wrote down.
Key management and lock cylinders
The lock is only half the system; key control is the other half. Decide upfront: keyed alike (one key opens every cabinet — convenient, but one lost key compromises everything) or keyed differently (each cabinet its own key — more administration, contained blast radius). Small installations usually choose keyed alike for sanity; larger ones key by zone or sensitivity. Either way, document which key opens what, and keep a master log of who holds keys.
Rekeying is an underused superpower: when staff changes or a key goes missing, replace the cylinders rather than hoping for the best — lock cylinders are inexpensive, incidents are not. Store spare keys in a sealed, logged envelope (a safe or lockbox), never taped inside the rack room. And treat the key log as a living document: review it when people join, leave, or change roles. Physical access control fails most often not at the lock, but at the spreadsheet nobody maintained.
Detecting and responding to tampering
Locks keep honest people honest; detection tells you when someone was not. Tamper-evident seals — numbered security tape or wire seals on cabinet doors — are cheap and effective: an intact seal means nobody opened the door since you last checked; a broken or mismatched seal means investigate. Log seal numbers on a simple sheet; the discipline of checking takes seconds and the evidence is unambiguous.
Build a lightweight inspection routine: weekly, verify seals intact, locks engaged, and no unfamiliar devices (a rogue device plugged into a spare switch port is the classic insider move). If tampering is suspected: do not touch — photograph, preserve logs (access logs, camera footage, PDU power-cycle history), and escalate through whatever incident process fits the organization. For homelabs the “process” is common sense; for businesses it should be written down before it is needed. Detection without a response plan is just anxiety with extra steps.
Securing the surrounding room
Cabinet locks are one layer; the room is the next. A locked cabinet in an unlocked room is a speed bump — the determined attacker (or the curious cleaner) has time and privacy. Room-level basics: a lockable door with controlled key distribution, no unattended propping open, and — for business installations — logging who enters. The room does not need data-center mantraps; it needs to not be the path of least resistance.
Environmental discipline is room security too: no food or drink near the rack (spills kill gear faster than hackers do), no unauthorized equipment plugged into rack power or network (the rogue device is the oldest insider trick), and clear labeling of what belongs — an unfamiliar box in the rack room should trigger questions, not shrugs. For shared spaces (offices, workshops), a simple access policy posted on the door — who may enter, what requires approval, who to call — turns vague expectations into enforceable norms. Security is mostly the boring enforcement of obvious rules; the locks just make the rules physical.
Visitor and contractor access
Someone will need supervised access: the electrician, the internet installer, the cleaning crew. Plan for escorted access rather than improvising it — decide in advance who can escort, what visitors may touch (nothing, without explicit permission), and what gets logged. For contractors doing extended work, a temporary access procedure (sign-in, escort, sign-out) beats both paranoia and carelessness.
The practical details: never hand over master keys to visitors — escort instead; cover or lock screens showing sensitive information during escorted visits; and after the visit, verify seals intact and nothing unfamiliar installed. Most incidents involving visitors are accidents, not attacks — a cleaner unplugging “that noisy box” to vacuum behind it is the classic. Prevention is a conversation (“please do not touch the black cabinet”) plus physical barriers (locked doors, cable guards) that make accidents difficult. Trust, but design for the day trust is misplaced.
Frequently asked questions
Are rack locks easy to pick?
Standard cabinet locks are deterrent-grade, not safe-grade — they stop opportunists, not dedicated attackers. That is the correct expectation: pair them with a locked room and a camera for real security.
Should side panels lock too?
Yes. An unlocked side panel bypasses every door lock on the cabinet. Verify all panels lock or require tools for removal.
Do I need cameras for a homelab?
Not necessarily — a locked room is the core control. A camera adds accountability for shared spaces and documentation if something does go wrong.
What is the cheapest meaningful upgrade?
A locking room door. It protects every rack inside at once and costs less than a single coded handle.
Related reading: UPS placement and sizing and starting a homelab rack.

