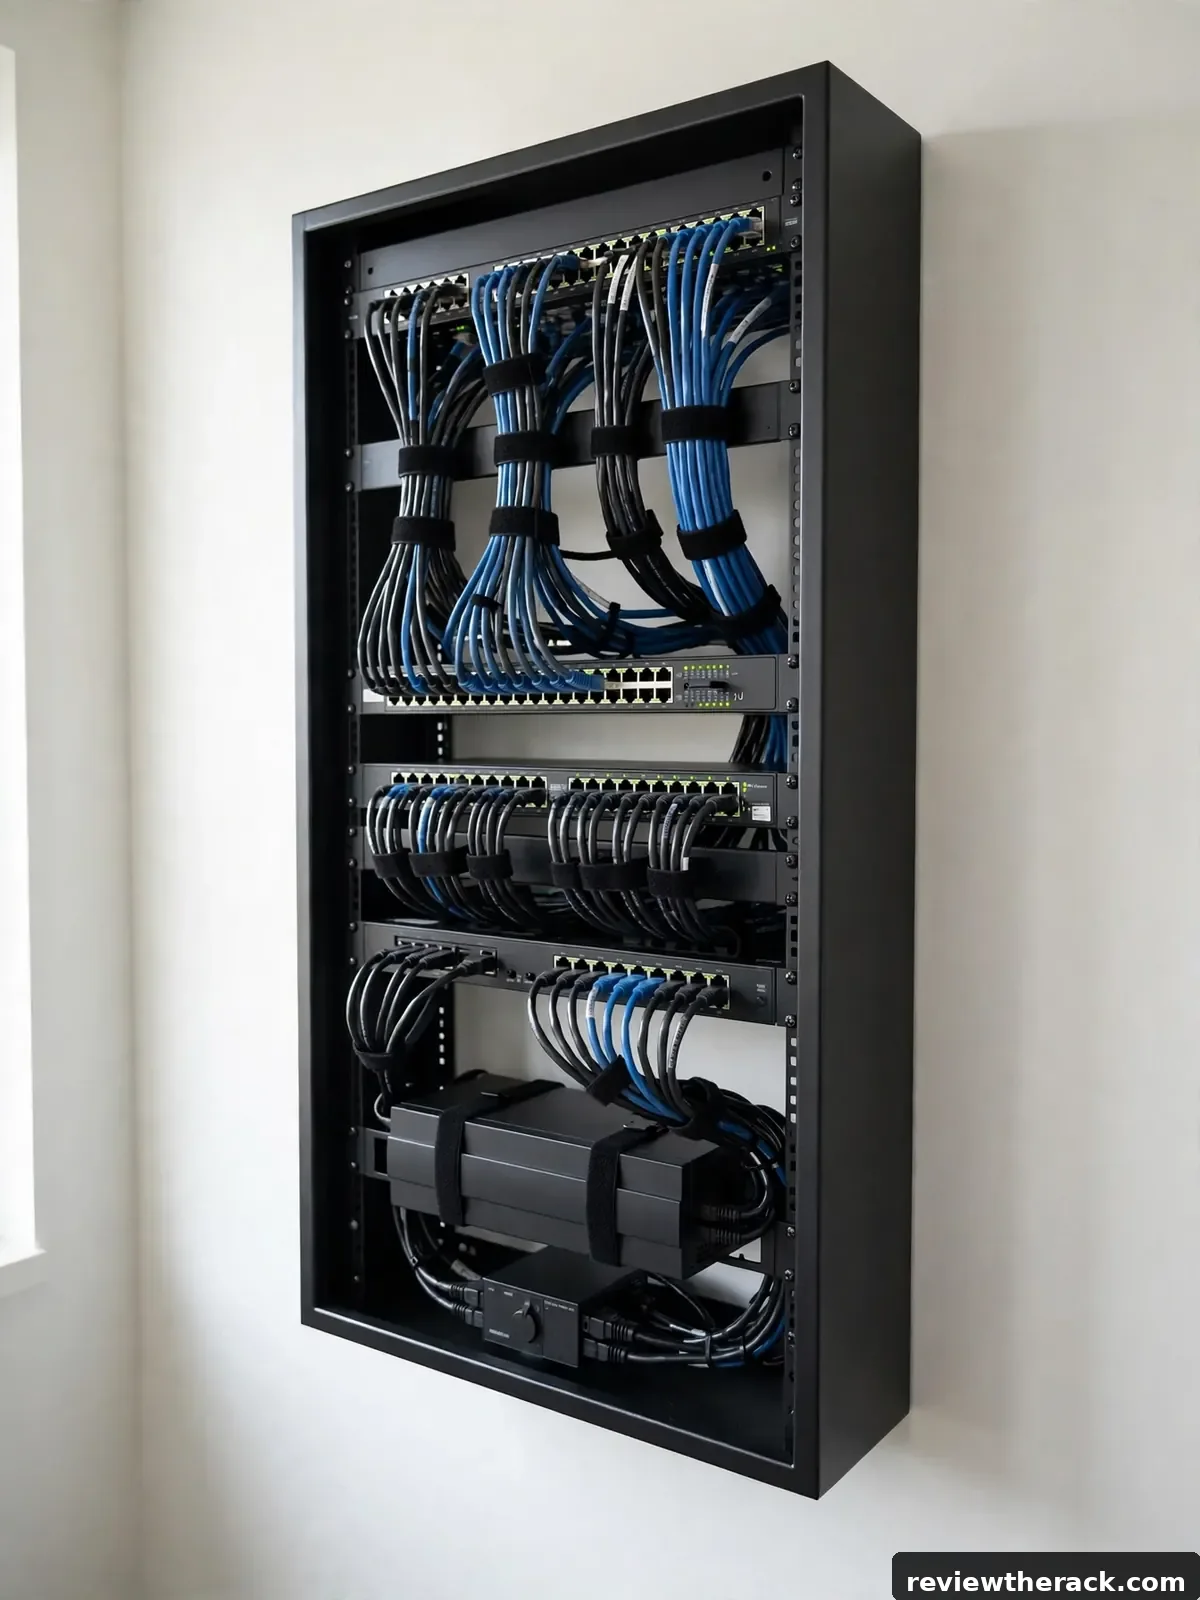
Choosing a rack size feels like a commitment because it is one: the cabinet will outlast most of the gear inside it. The good news is that sizing is a repeatable process, not a guess. Count your rack units, add honest growth headroom, check depth and weight against your longest and heaviest devices, and match the form factor to the room. Do those four steps in order and the right size usually picks itself.
This guide gives you that framework. It will not tell you “buy a 24U” — your gear list does that. What it will do is make sure you measure the right things, avoid the classic traps (too shallow, too small, too heavy for the wall), and end up with a rack that still fits your plans three years from now.
Step 1: Count your current U
List every device that will mount to the rails, with its U height. Be exhaustive: servers, switches, routers, firewalls, patch panels, PDUs mounted horizontally, rack UPS units, cable managers, brush panels, and shelves for non-rack gear. Manufacturer specs list U height for rack-mount equipment; for used or obscure gear, measure the front panel and divide by 1.75 inches. If you are fuzzy on the unit itself, start with what a rack unit is before continuing.
Add the numbers. A realistic small-business stack — 1U patch panel, 1U switch, 1U firewall, two 2U servers, 2U UPS, 1U cable manager — totals 10U. That is your day-one footprint. Write it down, because every later step references it. Common error at this stage: forgetting the accessories. Horizontal PDUs, cable managers, and shelves routinely add 2–4U that beginners omit, which is exactly how a “12U is plenty” plan becomes a 15U reality.
Also flag any device with special clearance needs now. A server with top-facing ports, a switch with upward cables, or equipment on sliding rails with a cable arm may need an empty U above or behind it. Note these as “clearance U” alongside the device U — they count toward the total even though no device occupies them.
Step 2: Add honest growth headroom
Now project forward. Will you add a server next year? A second switch? A storage shelf? Be honest rather than optimistic — headroom for gear you will never buy is just empty space you paid to heat and cool, while headroom you need but did not buy means a full rack migration later. Two practical rules cover most cases.
Rule one: add 30–50% to your current count and round up to the next standard size. Ten U of gear becomes 13–15U, which points at 15U or 18U cabinets. Rule two, simpler: buy one standard size larger than your current count needs. Ten U of gear in a 15U–18U cabinet leaves comfortable room without going overboard. For homelabs with a known project list, the lower end of the range is fine; for businesses where growth is the plan, take the higher end.
There is a ceiling to this logic. If your current count plus headroom lands near 24U and you have floor space, jumping to a 42U cabinet is often barely more expensive than a 24U — full-height cabinets are commodity items — and it ends the sizing question permanently. The trade-off is floor space, noise (bigger cabinets invite more gear), and the temptation to fill it just because it is there.
Step 3: Check depth before height
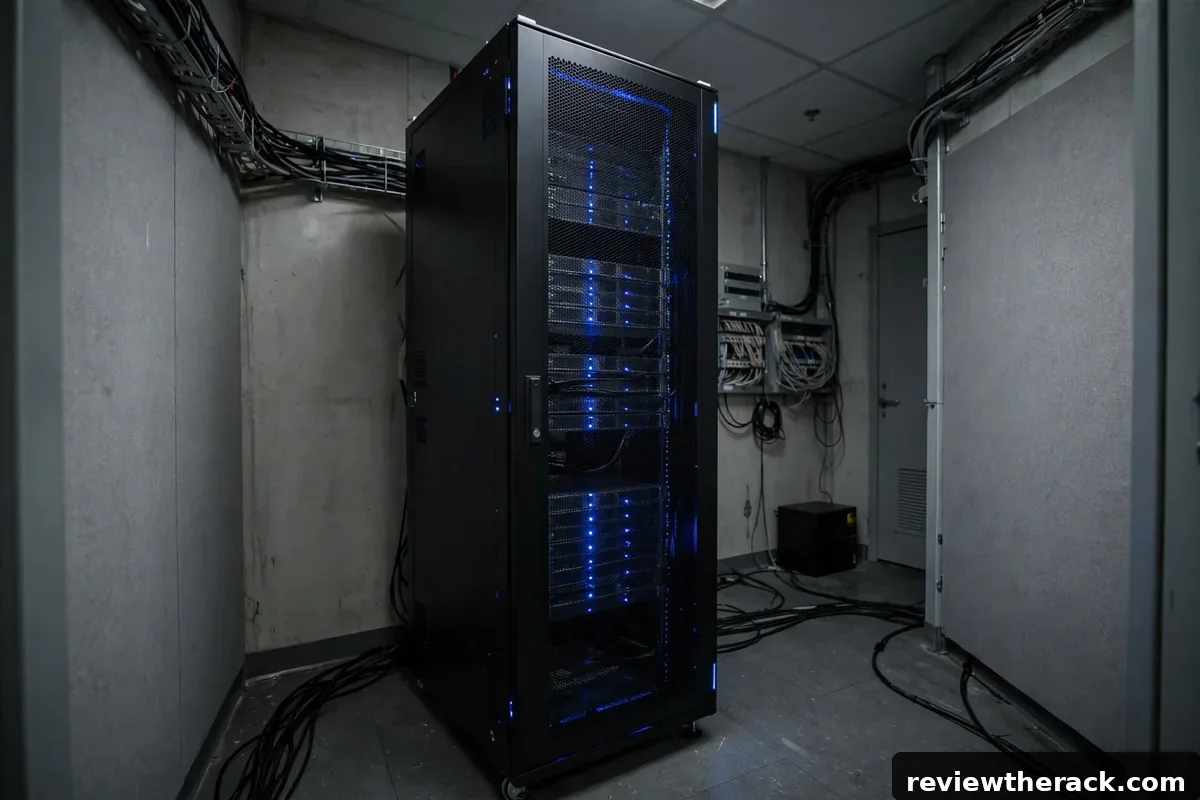
Depth kills more rack plans than height. Identify your longest device — usually a server — and measure from the front mounting ear to the rearmost point including handles and cable connectors. Add 75–100 mm for cable bend radius and service slack behind it. That total is your minimum usable depth, and the cabinet’s mounting depth (front rail to rear rail) must exceed it.
Standard cabinet depths cluster around 600, 800, 1000, and 1200 mm. Network-only gear fits happily in 450–600 mm; general servers usually want 800–1000 mm; long storage chassis and cable arms can need 1100 mm or more. A 24U cabinet at 600 mm deep and a 24U cabinet at 1000 mm deep are completely different products despite sharing a U count. Our rack depth guide has the full measuring method.
While you are at it, check the door swing and rear clearance the room allows. A 1000 mm deep cabinet needs roughly that much clear space behind it for service, plus front clearance to open the door and slide servers out. Measure the room, the doorways the cabinet must pass through, and the path from the delivery truck — a 42U cabinet does not fit through every office door.
Step 4: Weight, mounting, and the room
Add up device weights, not just U. A rack full of spinning disks and UPS batteries can exceed 300 kg; a network-only rack might be under 50 kg. The cabinet’s weight rating must cover the loaded total with margin, and the floor must cover the cabinet. Upper floors, raised tiles, and old wood floors all deserve a moment of thought — a fully loaded 42U cabinet concentrates a lot of mass on four small caster or leveling-foot points.
Mounting type follows from weight and space. Wall-mount brackets top out at modest ratings (commonly 60–100 kg) and shallow depths — fine for network gear, wrong for servers. Floor-standing cabinets on casters or leveling feet handle the heavy builds. If you are torn, our wall-mount vs floor-standing comparison lays out the decision in full.
Finally, match the cabinet to the room’s cooling and noise reality. An open frame in a living room will be heard; an enclosed cabinet in an unventilated closet will cook. Placement is a sizing input, not an afterthought — see where to put your server rack before finalizing.
The size ladder: what each range is for
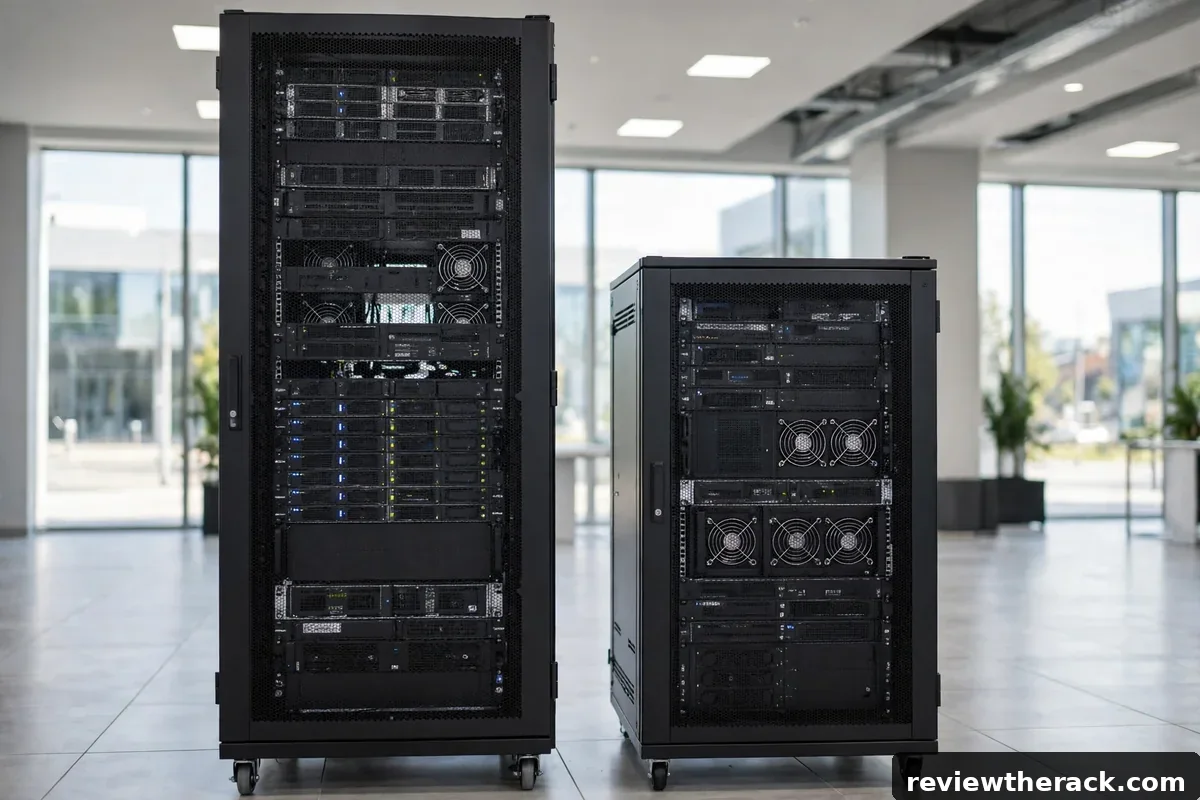
6U–9U: network closets. Patch panel, switch, firewall, maybe a small appliance. Wall-mounted, shallow, light. The classic “office network in a box.”
12U–15U: serious homelabs and small offices. Room for networking plus two or three servers and a UPS. The most common first “real” rack, available wall-mount or floor-standing.
18U–24U: small business and ambitious homelab territory. Full virtualization hosts, storage, redundant networking, proper cable management, and a real UPS — with headroom left over.
32U–48U: full-height cabinets for growing businesses and dedicated IT rooms. If you are here, you probably already know you need it; the main decisions shift to depth, power density, and cooling rather than U count.
Sizing mistakes that cost real money
Buying for today only. The single most expensive mistake. A cabinet that fits your current gear exactly forces a full re-rack at the first upgrade — new cabinet, new rails, a weekend of downtime. One size up costs little now and saves a migration later.
Forgetting the UPS and PDU. Power gear consumes U and adds serious weight low in the rack. A 2U UPS plus a 1U PDU is 3U and 30+ kg that beginners leave out of the plan, then discover when nothing fits.
Ignoring the room. A perfectly sized 24U cabinet is the wrong purchase if the closet has no ventilation or the floor cannot take the weight. Size the rack to the room as well as the gear — cooling and placement are part of sizing, covered in our cooling basics guide.
Plan power and cooling alongside size
Rack size is not only a space decision — it is a power and heat decision wearing a space costume. A 42U cabinet invites filling, and a filled 42U cabinet can draw several kilowatts and exhaust serious heat. Before committing to a large rack, confirm the room’s electrical capacity (dedicated circuit, breaker headroom) and heat rejection (where does the exhaust go?). A rack the room cannot power or cool is not a bargain; it is a future problem with a steel frame.
The practical move: size the rack for the gear, then sanity-check the infrastructure. Add up expected wattage, confirm it fits comfortably under the circuit’s continuous rating, and walk the heat path — from rack exhaust to wherever that heat leaves the building. If the heat has no exit, either shrink the plan or budget for active ventilation. Size, power, and cooling are one decision, not three.
When to buy bigger than the math says
The sizing ladder gives you the rational answer — but the market sometimes offers an irrational deal. A used 42U cabinet at the price of a new 18U, a bulk lot that includes rails you need, a friend decommissioning a whole rack: these happen. The rule for seizing them: the bigger rack must not create costs that erase the savings. More U tempts more gear (power, cooling, noise), and a half-empty giant still needs floor space and a circuit.
Buy bigger when three things are true: the price is genuinely good (compare against your ladder size, not against retail fantasy), you have the floor space and power headroom for eventual fill, and the cabinet quality is sound (straight frame, working doors, per the inspection checklist). If any of those fail, the “deal” is just a large object you now own. Rational sizing first, opportunism second — in that order.
Frequently asked questions
Is a 12U rack enough for a homelab?
Often yes. A 12U rack holds a patch panel, switch, firewall, two 1–2U servers, and a UPS with a little room to spare. If you plan serious storage expansion, consider 18U instead.
Should I buy a 42U rack “just in case”?
Only if you have the floor space, ventilation, and a realistic path to filling it. An empty 42U cabinet in a home office is a large, loud-looking piece of furniture. For most homelabs, 18–24U is the sweet spot.
Does rack size affect cooling needs?
Indirectly. More U usually means more gear and more heat, but a half-empty 42U cools easier than a stuffed 12U. Density matters more than total size — leave 1U gaps with blanking panels between hot devices.
How do I measure for a wall-mount rack?
Measure the wall area, confirm stud or masonry mounting points, check the bracket’s weight rating against your gear total, and verify depth — most wall-mount racks max out around 450–600 mm deep.
Related guides: cooling basics for your rack and sizing a UPS for your rack.

