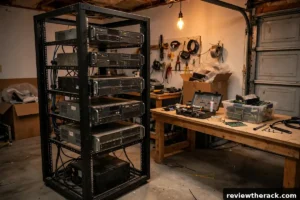
A homelab rack is a personal playground for learning IT: virtualization, networking, storage, automation, media serving — running on real hardware in a real rack, in your home. Starting one is less intimidating (and less expensive) than it looks. This guide gives beginners the complete starter picture: what to buy first, the setup order that avoids rework, and the mistakes that cost beginners time and money.
What you actually need first
The starter shopping list is shorter than forums suggest. The rack itself: a 12U open-frame or small cabinet — the classic first rack, sized by the sizing framework. Networking: a managed switch (even a basic one teaches VLANs) and a patch panel if you have in-wall runs. Compute: one server or mini-PC cluster node to virtualize on — start with what you have; an old desktop works. Power protection: a small UPS, because unclean shutdowns corrupt the lab you are trying to learn on.
That is the honest minimum. Everything else — second server, storage shelf, bigger UPS, managed PDU — comes after you have workloads running and know what constrains you. Beginners who buy the “complete” lab upfront usually buy wrong; beginners who start small and grow deliberately buy right.
Budget honestly using illustrative ranges (check current prices): the rack and starter networking are the fixed costs; compute can start at whatever old hardware you own. Our budget homelab guide stretches every dollar further.
The setup order that avoids rework
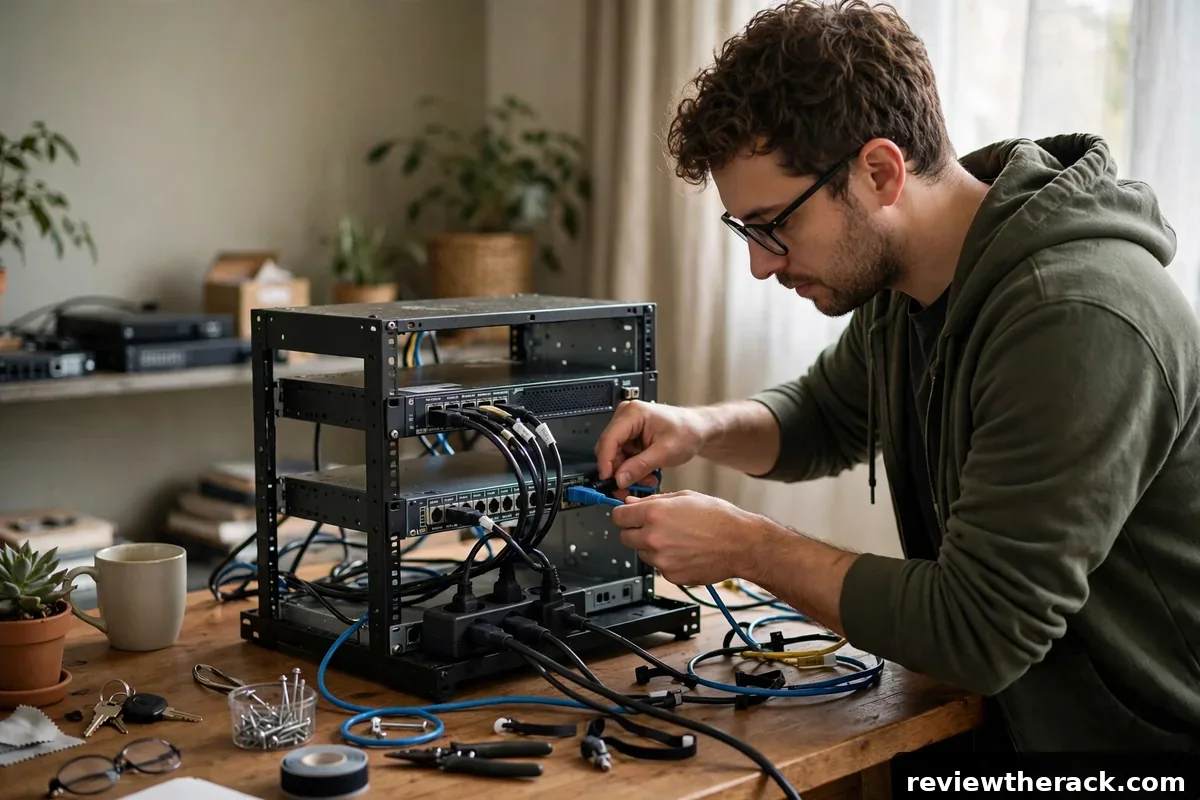
1. Place and assemble the rack where it will live — moving a loaded rack is miserable. Confirm power, ventilation, and noise tolerance of the spot first (see where to put your rack). 2. Install power: UPS at the bottom, PDU mounted, one dedicated circuit if you can get it. Power first, because everything else plugs into it.
3. Mount networking: patch panel, switch, and cable management near the top or wherever your in-wall runs land. Terminate and test every run before proceeding — see patch panels explained. 4. Add compute: servers on rails or shelves, heaviest low. 5. Cable everything with proper routing, slack, and labels — the weekend cable plan — because a lab you cannot service is a lab you abandon.
6. Power up in sequence (network first, then storage, then compute), verify every service, and document: what is where, what IP, what credentials (in a password manager, not a sticky note). Documentation feels bureaucratic for one server; it is essential by server three.
First workloads worth running
Start with workloads that teach fundamentals: a hypervisor (virtualization is the core homelab skill), a DNS/DHCP server (networking fundamentals), network-wide ad blocking or a local DNS filter (immediate household value), and backups — of the lab itself first, because you will break things learning, and snapshots plus backups are how experiments stay fun instead of tragic.
Then follow your interests: media servers, home automation, self-hosted cloud storage, monitoring dashboards, a Kubernetes cluster when you are ready to suffer productively. The rack does not care what you run; the skills compound regardless.
Power and cooling basics for beginners
Power: add up your gear’s draw (a plug-in meter is a great $20 lab tool), keep it comfortably under the circuit’s 80% continuous rating, and put everything critical on the UPS. Details in sizing a PDU and UPS sizing — the math is simple and worth doing once.
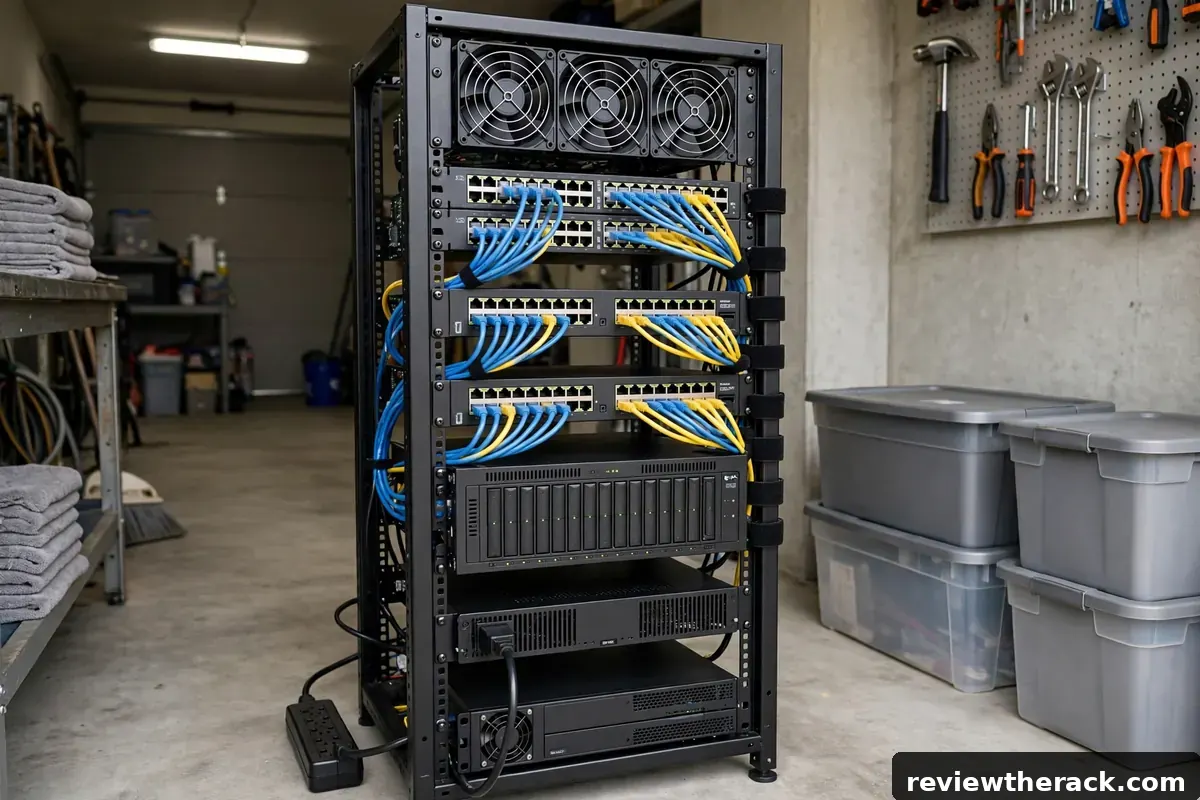
Cooling: blanking panels in empty slots, front-to-back airflow respected, and the rack positioned so exhaust has somewhere to go. A starter lab in a ventilated room needs no heroic cooling — just the basics from cooling basics applied from day one. Add fan trays only if measurements say you need them.
Noise: the beginner surprise. Enterprise servers are loud — small high-RPM fans at full tilt. Before buying used servers for a living space, understand the noise reality in building a quiet homelab. Quiet-ish gear choices at purchase beat acoustic remediation later.
Beginner mistakes to skip
Buying too much too soon. The classic: a 42U cabinet, three servers, and no workloads. Start with the minimum viable lab and let real constraints drive purchases.
Skipping the UPS. The first unclean shutdown that corrupts a datastore teaches this lesson permanently. A small UPS is the cheapest insurance in the lab.
No labels, no documentation. “I will remember” is the lie every beginner tells. Label cables (labeling guide), document IPs and credentials, photograph the build. Future you is a stranger — write for them.
Ignoring the household. A lab that trips breakers, screams at 2 AM, or heats the bedroom gets unplugged by someone who is not you. Design for the household’s tolerance: noise, power, heat, and blinking lights in shared spaces.
Growing the lab deliberately
Grow against measured constraints: when storage fills, add storage; when the single server is oversubscribed, add compute; when the network is the bottleneck, upgrade the switch. Each purchase solves a known problem instead of guessing at future ones. Revisit the buying checklist before each expansion — the framework scales from first rack to fifth.
Networking fundamentals for the lab
The homelab’s most valuable lessons are networking lessons, and the rack is the classroom. Start with a managed switch — even a basic one — because VLANs are the single most educational concept in small networking: separating lab traffic from household traffic, isolating IoT devices, building a DMZ for self-hosted services. A VLAN misconfiguration that breaks the lab (not the household internet — keep those separate from day one) teaches more than any tutorial.
A sensible starter topology: the ISP router feeds the lab router/firewall, which feeds the managed switch; VLANs for management, trusted LAN, lab, IoT, and guests; the rack’s patch panel as the physical anchor for in-wall runs. Document the addressing scheme (a simple spreadsheet: VLAN ID, subnet, purpose, gateway) before configuring — the discipline of planning subnets on paper prevents the “why is nothing routing” evenings. And keep one known-good path: a management VLAN and a console connection that survive your experiments, so a broken config is a lesson, not a lockout.
Backup strategy for the lab itself
The lab exists for experiments, and experiments break things — which makes backing up the lab itself the most overlooked starter task. The 3-2-1 rule adapts neatly: three copies of critical data (production, on-site backup, off-site), two different media types, one copy off-site. For a homelab, “off-site” can be a rotated USB drive at a friend’s house or encrypted cloud storage; the principle matters more than the prestige of the implementation.
Prioritize ruthlessly: configuration first (hypervisor configs, network device configs, firewall rules — the stuff that takes days to reconstruct), then irreplaceable data (photos, documents), then everything else. Automate hypervisor-level backups or snapshots on a schedule, export configurations after every significant change (versioned, with dates), and — the step everyone skips — test the restore. A backup you have never restored is a hope, not a backup. Schedule a quarterly restore drill: pick something non-critical, restore it, verify it works. The first drill finds the gaps; every drill after is just confirmation.
The first 30 days with your lab
The lab is racked, powered, and cabled — now the first month determines whether it becomes infrastructure or furniture. Week one: build the foundation — hypervisor installed, management VLAN working, backups configured before anything important runs on the lab. The unglamorous base layer is what lets the fun layer survive its own experiments. Document as you go: IPs, credentials (in the password manager), what runs where.
Weeks two through four: one project at a time. The beginner failure mode is twelve half-built services; the winning pace is one completed, documented, backed-up service before starting the next. A working ad-blocker with monitoring beats a half-configured Kubernetes cluster every time — depth before breadth, always. End the month with a review: what broke, what the monitoring caught, what the power bill says, what the household thinks of the noise. The review turns a month of tinkering into a deliberate practice — and deliberate practice is what homelabs are for.
Key takeaways
- Start with the minimum viable lab — rack, managed switch, one compute host, small UPS — and let measured constraints drive every later purchase.
- Build in order: placement, power, networking, compute, cabling, then power-up in sequence with documentation from day one.
- A managed switch and VLANs teach the most valuable homelab lessons; keep a known-good management path that survives your experiments.
- Back up the lab itself first — configurations before data — and test restores quarterly; a backup you have never restored is a hope.
- Grow against bottlenecks, one project at a time, and respect the household’s noise and power tolerance — a tolerated lab is a lasting lab.
Frequently asked questions
How much does a starter homelab rack cost?
Illustrative ranges only — check current prices. A starter open-frame rack plus basic networking and a small UPS is a modest fixed cost; compute can start at zero with repurposed hardware. The expensive path is buying everything new upfront.
Can I run a homelab without a rack?
Yes — a shelf or desk works to start. The rack earns its keep as gear multiplies: organization, airflow, power distribution, and serviceability at scale.
What is the best first server?
Whatever you already own, honestly. The best first server is the one that lets you start learning this weekend — upgrade when you hit real limits.
Do I need enterprise networking gear?
No. A basic managed switch teaches 90% of the networking concepts. Buy capability you will configure, not specs you will admire — and see the buying guide before spending.
Related guides: the buying checklist and when cooling needs help.