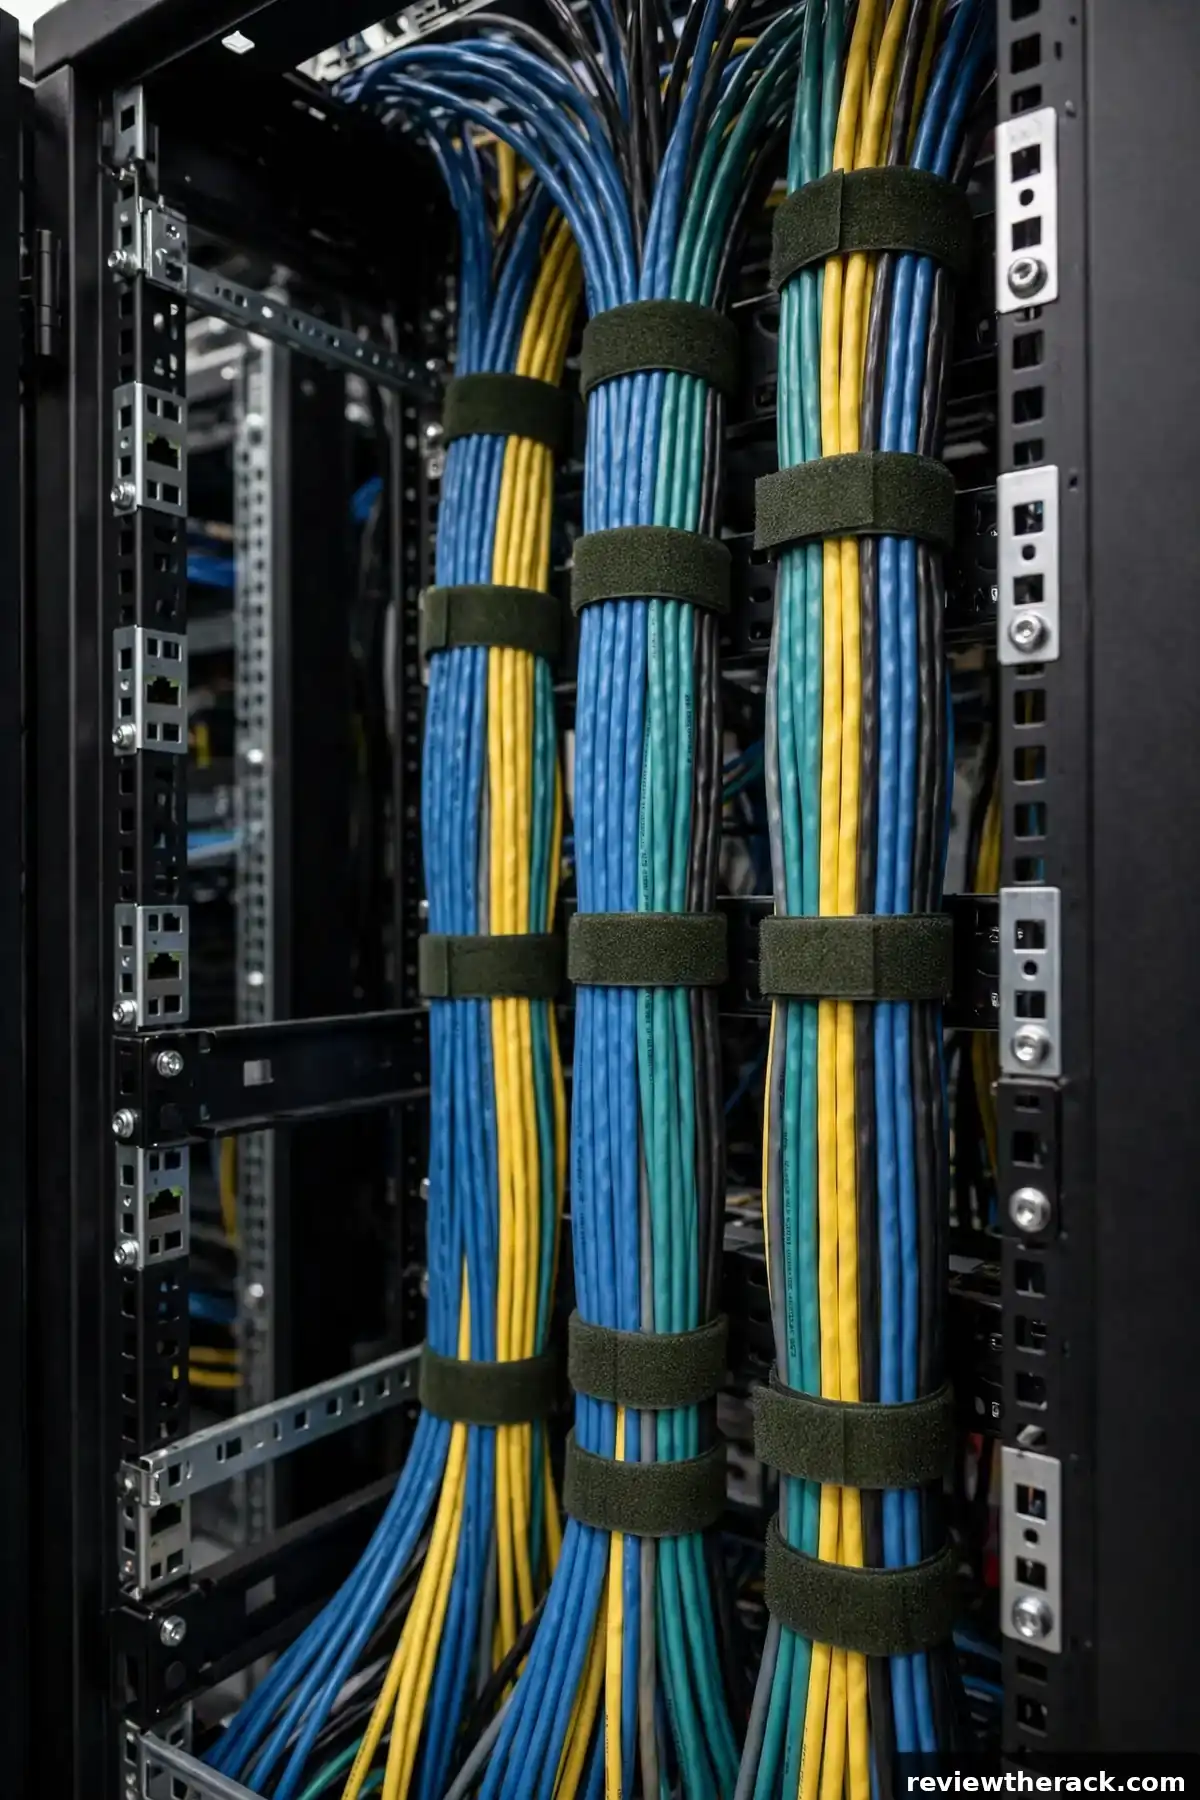
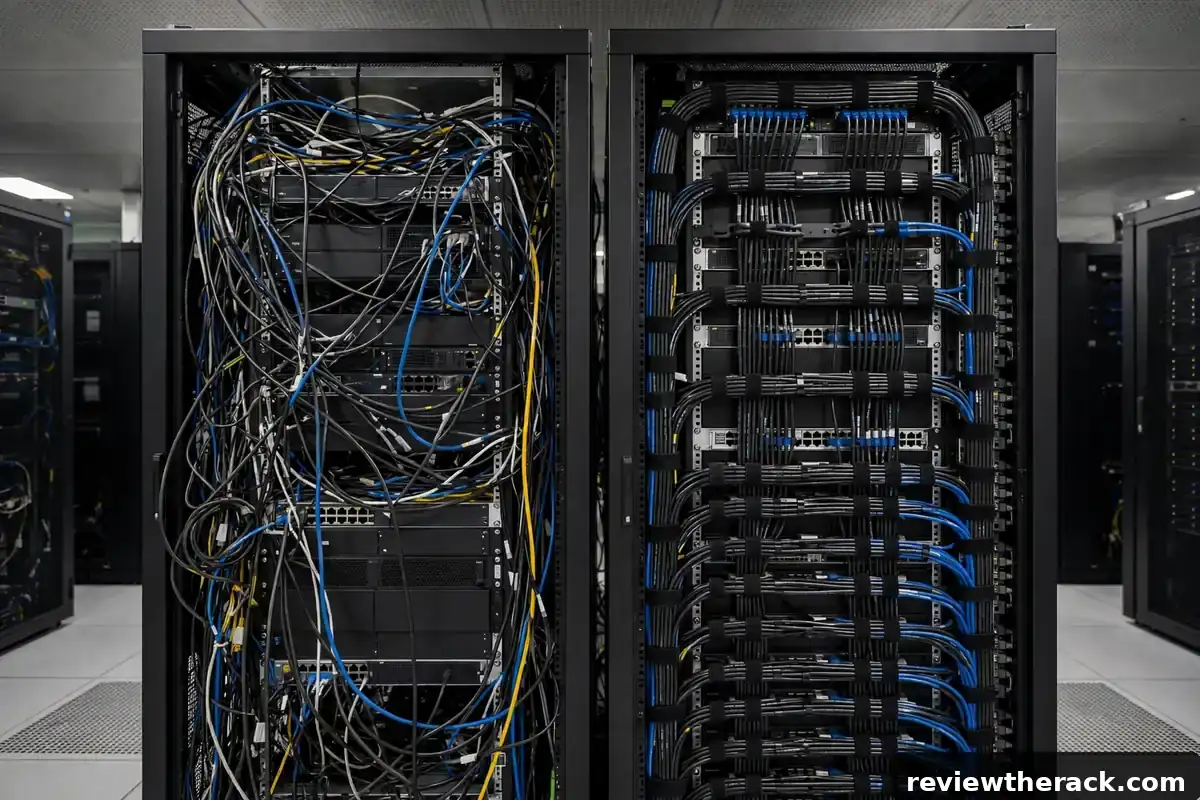
Cable management is the difference between a rack you can work on and a rack you dread. Tangled cables slow every change, hide faults, block airflow, and turn a ten-minute task into an hour of tracing. The fix is not expensive hardware — it is a handful of habits: defined routing paths, gentle bundling, service slack, and labels. This guide gives you the weekend plan for turning a messy rack into a maintainable one.
Why cable management matters more than looks
Looks are the least of it. Serviceability: when a switch port dies at 9 PM, you need to find, trace, and replace one cable — not excavate. Airflow: cable bundles draped across intakes and exhausts measurably raise temperatures; tidy routing keeps air paths clear. Reliability: strained connectors, tight bend radii, and cables crushed under weight cause intermittent faults that are miserable to diagnose. Safety: heavy power bundles and trip hazards in front of the rack are accidents waiting for a dark room.
The cost of chaos compounds. Every undocumented change makes the next change harder, until “do not touch anything” becomes the operating policy. A weekend of organization pays back on the first service call — and keeps paying for the life of the rack.
Define routing paths first
Before touching a cable, decide where cables live. The standard scheme: vertical managers on both sides of the rack carry cables between U positions; horizontal managers (1U, every few U) carry cables across to devices; power runs down one side, data down the other — separation reduces interference and keeps high-voltage work away from signal cables.
Route with intention: patch cords from patch panel to switch travel the shortest manager path, not diagonally across the rack. Power cables drop vertically to PDUs at the rear. Inter-rack or in-wall feeds enter through defined entries (top or bottom) and join the vertical managers immediately. Every cable should have an obvious, repeatable path — if you have to invent the route per cable, the scheme needs work.
For hardware that formalizes paths — arms, trays, rings, D-rings — see cable arms vs trays vs rings. Start with the scheme; add hardware where the scheme strains.
Bundling: velcro, slack, and bend radius
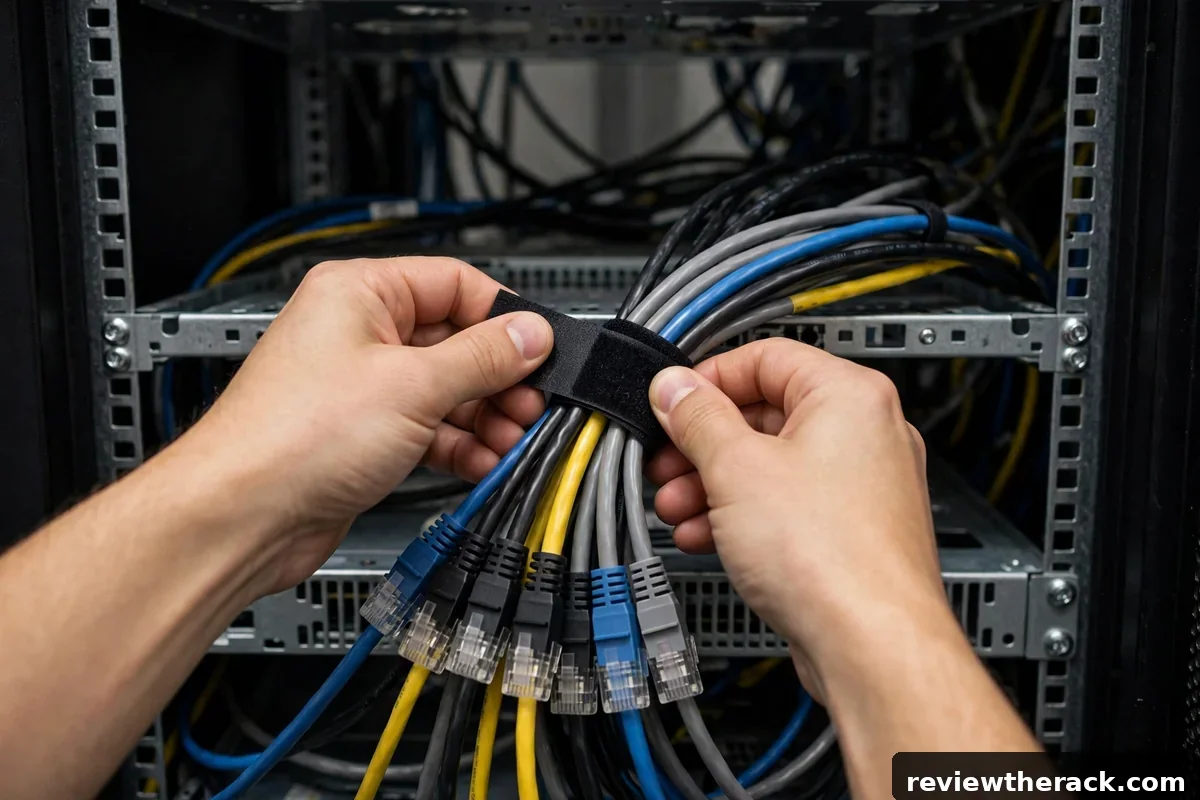
Velcro over zip ties. Zip ties are cheap, permanent, and hostile to change: every re-cable means cutting and re-tying, and overtightened ties crush cable jackets and deform pairs. Velcro wraps are reusable, gentler, and faster. Use zip ties only where permanent, vibration-proof fastening is genuinely needed — and never cinch them hard.
Leave service slack. Every cable needs enough slack to pull a device out on its rails, to re-terminate a connector, and to reroute later. Slack lives in managed loops — in the vertical managers or a dedicated slack loop — not as a pile on the floor. No slack means the next change requires a new cable run; generous slack means it requires five minutes.
Respect bend radius. Copper and especially fiber have minimum bend radii (roughly 4x cable diameter for copper, more for fiber). Sharp 90-degree kinks at the connector are the classic self-inflicted fault: intermittent errors that vanish when you wiggle the cable. Route with curves, use the manager’s radius guides, and never hang weight from a connector.
Separate power from data
Run power and data in separate managers or sides. The reasons are practical more than theoretical: high-current power cables can induce noise in adjacent signal cables (especially analog and older standards), but equally important, separation keeps the two systems serviceable independently — you can rewire power without disturbing data and vice versa.
Crossings should be perpendicular, not parallel runs. Where power must cross data paths, cross at 90 degrees and move on. Keep power bundles away from the front intake paths too — a thick power bundle across a server’s intake is an airflow problem wearing a cabling disguise, a point our cooling basics guide reinforces.
The weekend re-cable plan
Hour 1 — document and photograph. Photograph everything before touching it. Sketch the current state: what connects to what. You will reference this when something does not come back up.
Hours 2–3 — remove and sort. Power down non-critical gear (or schedule the window), unplug everything, and sort cables by type and length. Discard damaged cables and the mystery 15-meter cord nothing needs. This is also the moment to label both ends of every cable you keep.
Hours 4–6 — route and bundle. Install or reposition managers, then run cables along the defined paths: power down one side to the PDUs, data through managers to devices. Velcro loosely every 30 cm or so — snug, not strangling. Leave slack loops where devices slide out.
Hour 7 — verify. Power up in sequence, confirm every link and service, and photograph the finished state. Update your documentation (even a phone photo album counts). Future you will be grateful.
Ongoing discipline: the 5-minute rule
A rack stays tidy through a single habit: never leave a cable unrouted. Every new cable gets the full treatment — path, slack, velcro, label — before you walk away. The “temporary” cable draped across the front is how chaos returns; five minutes now saves a weekend later.
Schedule a quarterly ten-minute review: tug-test velcro, check for new bypasses, confirm labels are legible, and clear anything staged “temporarily” on top of the rack. Small, regular attention beats heroic annual cleanups — and keeps the rack matching its documentation, which is the real goal.
Managing cables for sliding-rail servers
Sliding-rail servers are the cable manager’s special challenge: the server moves, the cables must follow, and nothing may snag, stretch, or unplug during the meter of travel. The foundation is service slack — enough extra cable, dressed in a managed loop, that the server reaches full extension with slack to spare. The loop lives in the vertical manager or a dedicated slack area, never draped across neighboring gear, and it must be long enough for the full rail travel plus a comfortable margin.
Cable management arms formalize the loop for servers that slide often, carrying the cables through the extension arc without unplugging. Where arms do not fit (shallow cabinets) or the server rarely slides, a well-dressed manual service loop with velcro guides works fine — the key in both cases is testing the full travel before closing up: slide the server fully out, confirm no cable tensions, no connector strains, and no interference with adjacent devices, then slide it back and confirm the loop re-dresses itself. A service loop that works on paper but binds in practice is not a service loop.
Decommissioning: removing cables cleanly
Cables accumulate like sediment: every decommissioned server leaves its cords, every re-patch abandons a run, and within a couple of years the rack carries the ghost infrastructure of three generations. Decommissioning discipline is cable management’s neglected half — removing cables completely, promptly, and safely when their device leaves.
The procedure: power down and verify zero load before touching anything (trace the cable end to end — labels earn their keep here), remove the cable fully rather than coiling it “just in case” behind the rack, update the documentation (port maps, labels, the spreadsheet), and sort the removed cables — good ones to spares, damaged ones to recycling. The “just in case” coil is how racks fossilize; a cable with no documented purpose is a cable that should not be in the rack. Schedule decommissioning as part of every removal project, not as a someday cleanup — someday never comes, but the next install always does.
Cable management for wall-mount racks
Wall-mount racks compress every cable challenge into shallow depth and fixed position. The routing principles do not change — defined paths, velcro, slack, labels — but the geometry forces economy: short patch cords (0.3 m, not coiled 2 m), compact horizontal managers that fit the cabinet’s depth, and vertical management via the cabinet’s side channels rather than add-on troughs that will not fit. Every centimeter is contested; waste none.
Service access is the wall-mount crux: with the rear against the wall, rear cable work means unmounting (or a swing frame — the middle path worth its premium here). Design so rear access is rare: terminate everything to the patch panel front, keep power distribution front-accessible where possible, and leave generous service loops at the front for the work you will do most. The wall-mount rack rewards front-loaded design — every cable decision that assumes easy rear access will be regretted at the first service call.
Key takeaways
- Define routing paths first — vertical managers, horizontal managers, power separated from data — then route every cable through them.
- Velcro over zip ties, service slack on every run, and bend radius respected: the three habits that keep a rack serviceable.
- Label both ends of every cable before you walk away; the “temporary” unlabeled cable is how chaos returns.
- Decommission completely — remove dead cables promptly, update the documentation, and never let ghost infrastructure accumulate.
Frequently asked questions
Velcro or zip ties?
Velcro for everything you might ever touch again — which is nearly everything. Zip ties only for permanent structural fastening, loosely cinched.
How much slack should I leave?
Enough to pull the device fully out on its rails plus a comfortable loop — typically 30–60 cm of managed slack per device cable. More for sliding-rail gear.
Should power and network cables touch?
Avoid parallel runs; perpendicular crossings are fine. Separate managers or rack sides is the practical standard.
What is the biggest beginner mistake?
No defined paths — cables run point-to-point diagonally, and the result is a web. Define managers and paths first, per our form-factor planning, then route everything through them.
Related guides: budget cable wins and planning for your form factor.

