
Sizing a PDU is arithmetic plus judgment: add up what your gear draws, apply the 80% continuous-load rule, count outlets with headroom, and match the PDU’s electrical ratings to the circuit feeding it. Get it right and power becomes invisible; get it wrong and you get tripped breakers, overloaded circuits, or money wasted on capacity you cannot use. This guide walks the full calculation.
Step 1: Add up the real load
List every device and its power draw in watts. The best number is measured: a plug-in power meter on each device under typical load, or a metered PDU’s display for the whole rack. Measured beats nameplate — manufacturer ratings are maximums with margin, and real draw is often half the nameplate or less.
Without measurements, use specs conservatively: take the PSU rating or published typical draw, and note which is which. For planning, assume typical draw plus 25% margin for peaks, not nameplate — sizing to nameplate maximums oversizes everything downstream. If you are choosing between PDU intelligence levels first, read PDU types explained.
Sum the watts. A realistic small rack — two servers, a switch, firewall, and small UPS charging — might total 400–700W measured. Write the total down; every later step uses it.
Step 2: Convert watts to amps
Circuits and PDUs are rated in amps; gear is spec’d in watts. The conversion is amps = watts ÷ volts. On a 120V circuit, 600W draws 5A; on 230V, the same 600W draws about 2.6A. Higher voltage means lower current for the same power — one reason 208V/230V feeds are popular for denser racks.
Know your actual voltage — do not assume. North American racks might see 120V or 208V; much of the rest of the world sees 220–240V. The PDU, the circuit, and your math must all agree on the number. A PDU rated for 230V-only on a 120V circuit is a paperweight; the reverse is a hazard.
Step 3: Apply the 80% rule
Continuous loads — anything running 3+ hours, which describes all rack gear — should not exceed 80% of the circuit rating. On a 20A circuit, your continuous budget is 16A. On 15A, it is 12A. This is electrical-code practice (the NEC’s continuous-load provision, in the NFPA family of codes — see nfpa.org), not folk wisdom: breakers and wiring are designed around it.
Worked example: your rack measures 600W on a 120V/20A circuit. That is 5A — well under the 16A continuous budget, with room to roughly triple the load before the circuit is the constraint. The same 600W on a 15A circuit is still fine (5A vs 12A budget). Most small racks are outlet-limited long before they are amp-limited, which is why outlet count matters as much as amperage.
Size the PDU’s rating to the circuit: a 20A PDU on a 20A circuit, with matching plug type. An oversized PDU on an undersized circuit gains nothing — the breaker is the limit. An undersized PDU on a big circuit is a bottleneck and a code problem.

Step 4: Count outlets (with headroom)
Count power supplies, not devices: dual-PSU gear needs two outlets on (ideally) separate PDUs. Add 30–50% spare outlets for growth and for the wall-warts that eat adjacent positions. A rack with 8 devices averaging 1.5 power supplies wants 12 outlets used — buy 16–20+ positions.
Consider outlet type and orientation: C13/C14 for most IT gear, C19/C20 for high-draw devices, and local mains sockets where applicable. Right-angle or locking variants help in tight rear clearances. More, well-spaced outlets beat a dense block where bulky plugs block neighbors.
Step 5: Match the PDU to the circuit
The chain must agree end to end: wall receptacle → PDU plug → PDU rating → branch breakers → your load math. A 30A twist-lock receptacle needs a 30A PDU with a matching plug; a 20A PDU with a 5-20P plug belongs on a 20A circuit. Mismatched plugs and receptacles are not just inconvenient — adapters that defeat the rating system are how fires start.
Confirm the circuit is dedicated to the rack. A “20A circuit” shared with hallway outlets or office equipment is not 20A for your purposes. If the breaker panel is a mystery, this is the moment to map it — or have an electrician do so. Panel work is licensed-trade territory; your job is the load math, theirs is the copper.
Redundancy: A/B feeds done right
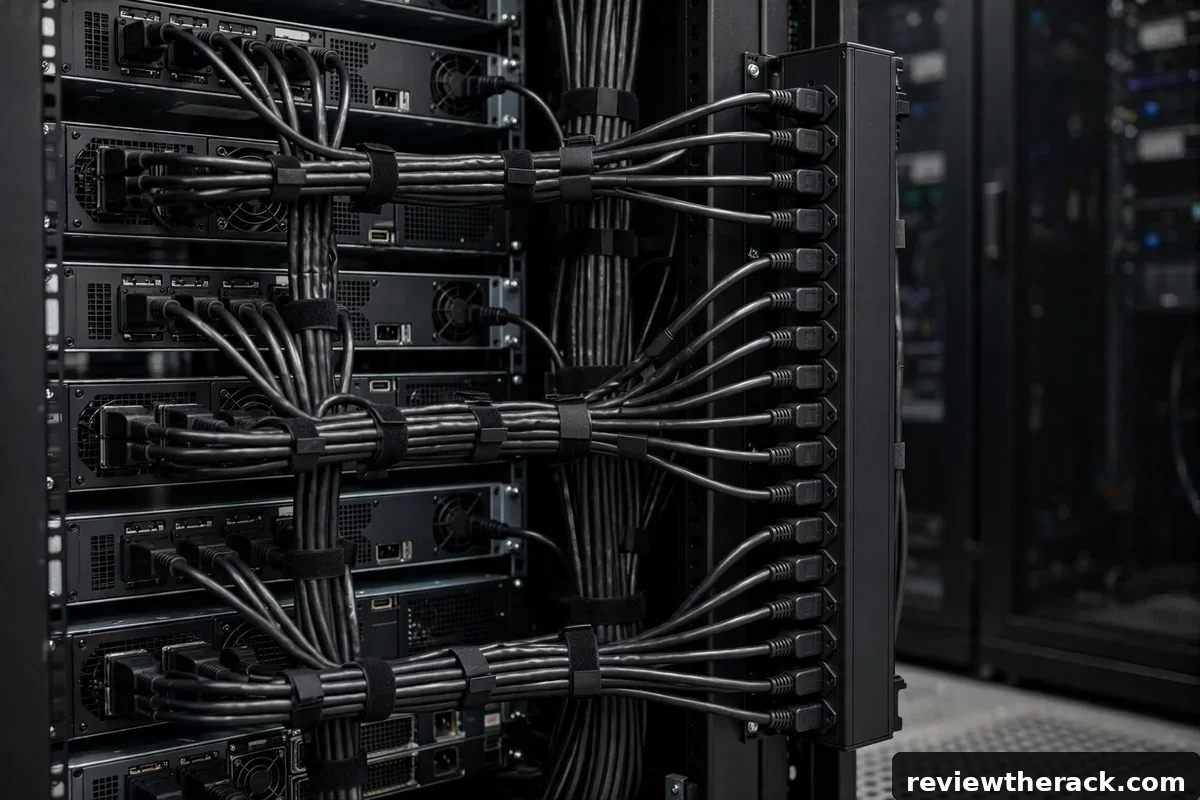
Gear with redundant power supplies wants redundant feeds: PDU-A on one circuit (or UPS), PDU-B on another. Each feed should carry the full load alone at under 80% — because during maintenance or a failure, one feed will carry everything. Two PDUs each loaded to 70% is not redundant; it is two overloaded-waiting-to-happen PDUs. Size each side for 100% of load at 80% of rating.
For homelabs, full A/B redundancy is often overkill — a single quality PDU on a UPS-backed dedicated circuit is a sane baseline. Add the second feed when uptime justifies it, not as a reflex. Our UPS guide covers how UPS units fit into the feed design.
Sizing mistakes
Sizing to nameplate maximums: oversizes PDU, circuit, and cost for load that never materializes. Measure or estimate typical draw instead.
Forgetting inrush: everything starting at once draws a surge. Stagger power-on after outages — manually or with sequenced outlets — so the restart does not trip the breaker the outage did not.
Outlet myopia: nailing the amps while running out of outlets (or vice versa). Both dimensions need headroom; check both.
Measuring real draw vs nameplate
Server nameplates lie — or more charitably, they overstate. A nameplate wattage is the power supply’s maximum rating, not the server’s typical draw; a server with a 750W PSU might idle at 90W and peak at 300W. Sizing from nameplates therefore oversizes everything downstream: the PDU, the UPS, the circuit. For accurate planning, measure.
The measurement protocol is simple: a plug-in power meter (for 120V-class loads) or a clamp meter around the circuit conductors (for hardwired or high-current feeds) — both modest investments that pay for themselves in right-sized gear. Measure each device at idle and under representative load (boot the VMs, run the backup, push the workload), log the numbers, and add a measured peak plus headroom rather than a nameplate plus hope. Re-measure after significant changes; loads drift as workloads evolve. The five minutes per device buys you a PDU and UPS sized to reality, which is the cheapest capacity there is.
Planning for inrush and startup sequencing
Here is the trap in “everything is sized correctly”: startup is not steady state. Motors, PSUs, and inrush currents draw multiples of their running current for the first instants after power-on. Power up a whole rack simultaneously after an outage and the combined inrush can trip a breaker that would happily carry the running load all day. The fix is sequencing: bring gear up in stages, heaviest inrush first, with pauses between.
Build the sequence into your procedures: network gear first (switches, routers — the foundation everything else needs), then storage (arrays take time to come ready; start them early), then compute in batches (a few servers at a time, not all at once). Smart PDUs can automate this with outlet sequencing delays — per-outlet power-on delays that turn a manual procedure into an automatic one. And coordinate with the UPS: its transfer and overload behavior during a full-rack cold start should be a tested scenario, not a discovery. Size for the peaks you can measure; sequence away the peaks you cannot avoid.
Documenting your power plan
A power plan that lives only in your head is a single point of failure with a pulse. The document is simple: for each PDU, the circuit it feeds from (breaker number and panel), the rated capacity, the measured load per outlet or device, and the headroom remaining. A spreadsheet works; a printed sheet taped inside the cabinet door works when the power is out and the spreadsheet is unreachable. Update it on every change — the five minutes during the change beats the forensic reconstruction later.
The document’s real value appears in three scenarios: adding gear (is there headroom, or is this the purchase that needs a new circuit?), troubleshooting (which breaker, which PDU, which outlet — answered in seconds, not traced in minutes), and handoffs (the next person inherits knowledge, not archaeology). Include the startup sequence and the measured inrush notes alongside the steady-state numbers — the plan should answer “can I power everything up at once?” without anyone having to guess. Power documentation is the cheapest reliability upgrade after the UPS itself.
Key takeaways
- Size from measured draw, not nameplate ratings — a plug-in meter or clamp meter pays for itself in right-sized gear.
- Respect the 80% continuous-load rule on every circuit, PDU, and UPS in the chain; headroom is reliability.
- Plan for inrush and startup sequencing — the whole rack powering on at once is the scenario that trips breakers.
- Document the power plan (breaker, PDU, outlet, load) and update it on every change; future troubleshooting will thank you.
Frequently asked questions
What size PDU for a homelab?
Most homelabs land comfortably on a 15–20A metered PDU with 12–20 outlets on a dedicated circuit. Do the load math — small racks rarely need more.
Can one PDU handle two circuits?
No — one PDU, one feed. Redundancy means two PDUs on two feeds, not one PDU doing double duty.
Does voltage really matter for sizing?
Yes, for the amps conversion and for equipment compatibility. Same watts at higher voltage means fewer amps — and some gear is voltage-specific, so verify.
How often should I recheck the load?
Every time you add or replace gear, and annually regardless. Loads creep; a metered PDU makes the check a glance — see starter planning for the habit.
Related guides: planning the starter rack and fitting PDUs in deep cabinets.
