Before you buy the rack, choose its home. The room decides your cooling options, noise constraints, power availability, floor loading, and security posture — get the location wrong and every other decision gets harder. This guide walks through the candidate locations (closet, garage, basement, spare room), what each demands, and the planning checklist that prevents “the rack does not fit through the door” disasters.
Candidate locations, honestly assessed
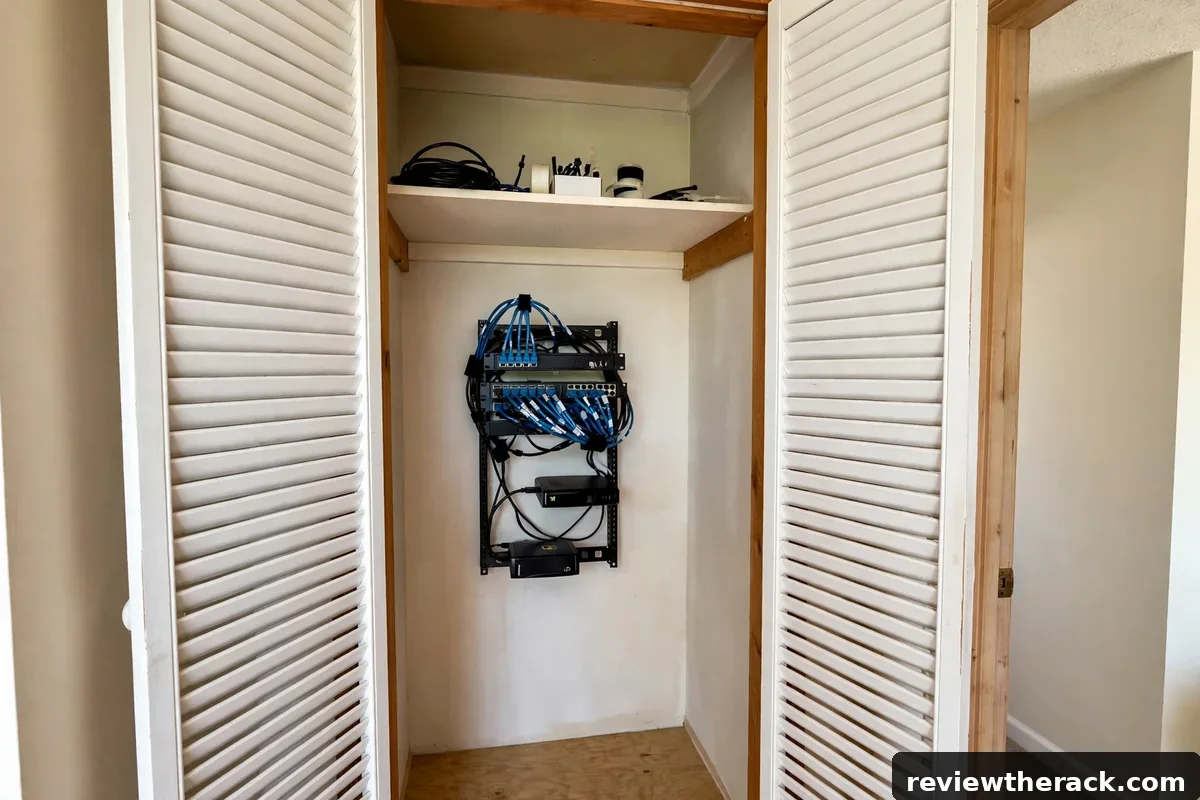
Closet: convenient and out of sight, but the classic heat trap. Works only with real ventilation — louvered doors, a transfer grille, or an active exhaust fan moving heat out. A sealed closet with a kilowatt of gear is an oven; with ventilation designed in, it is a fine network nook. See small-room airflow logic for the closet-as-system design.
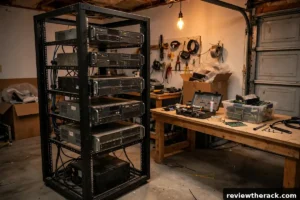
Garage: space, concrete floors, and separation from living areas — but dust, temperature swings, humidity, and sometimes pests. Enclosed cabinets (dust control), environmental monitoring, and realistic expectations about summer heat. Great for the rack; plan for the environment.
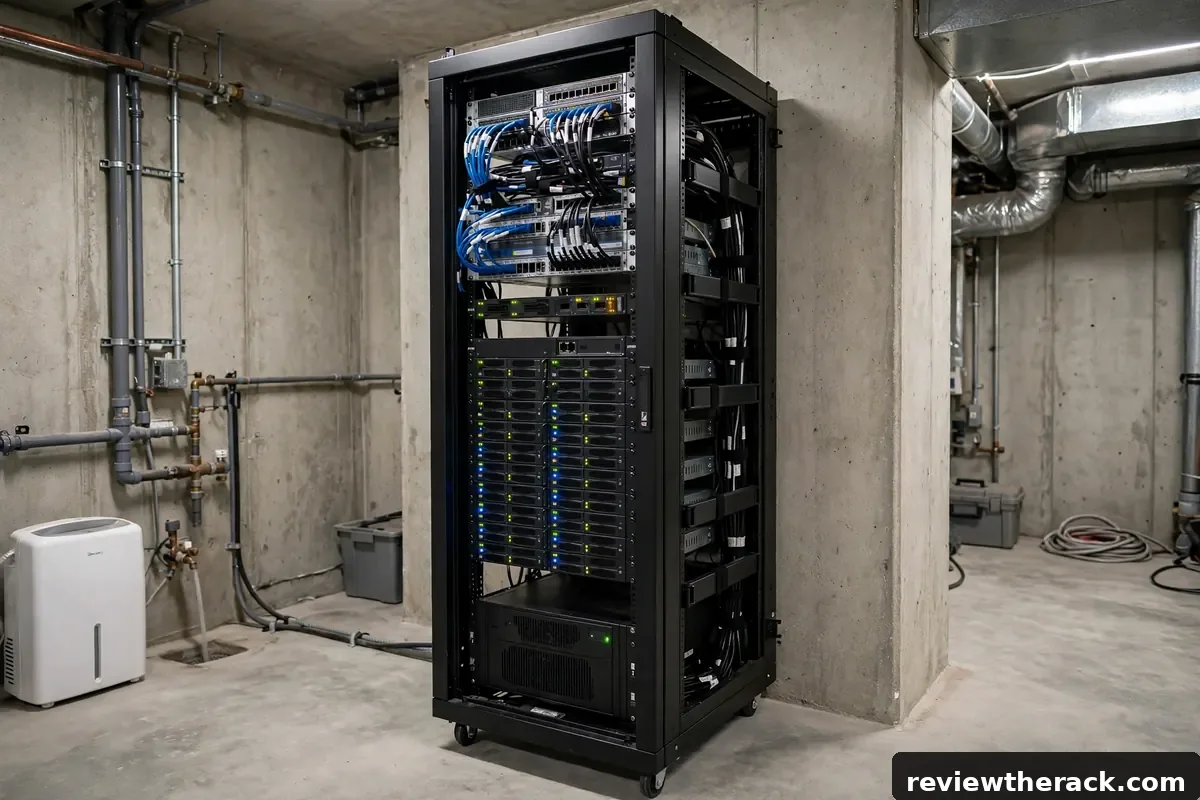
Basement: often the best all-rounder — cool ambient air, concrete floors for heavy loads, natural noise isolation. Watch humidity (dehumidify if damp — moisture and electronics are enemies) and water risk (never place directly on floors prone to flooding; a pallet or plinth is cheap insurance).
Spare room / home office: convenient access and climate control, but noise and aesthetics become household issues. Demands the quiet-build approach from building a quiet homelab and an enclosed cabinet at minimum.
Floor loading: the check everyone skips
A loaded rack is heavy: cabinet (30–80 kg) plus gear, UPS batteries, and ballast can total 200–400+ kg on four small feet — a lot of point loading. Ground floors and concrete slabs handle this without thought. Upper floors, especially older wood construction, deserve a moment: position the rack near load-bearing walls or over beams, spread the load if possible, and when in doubt, consult someone who knows the structure.
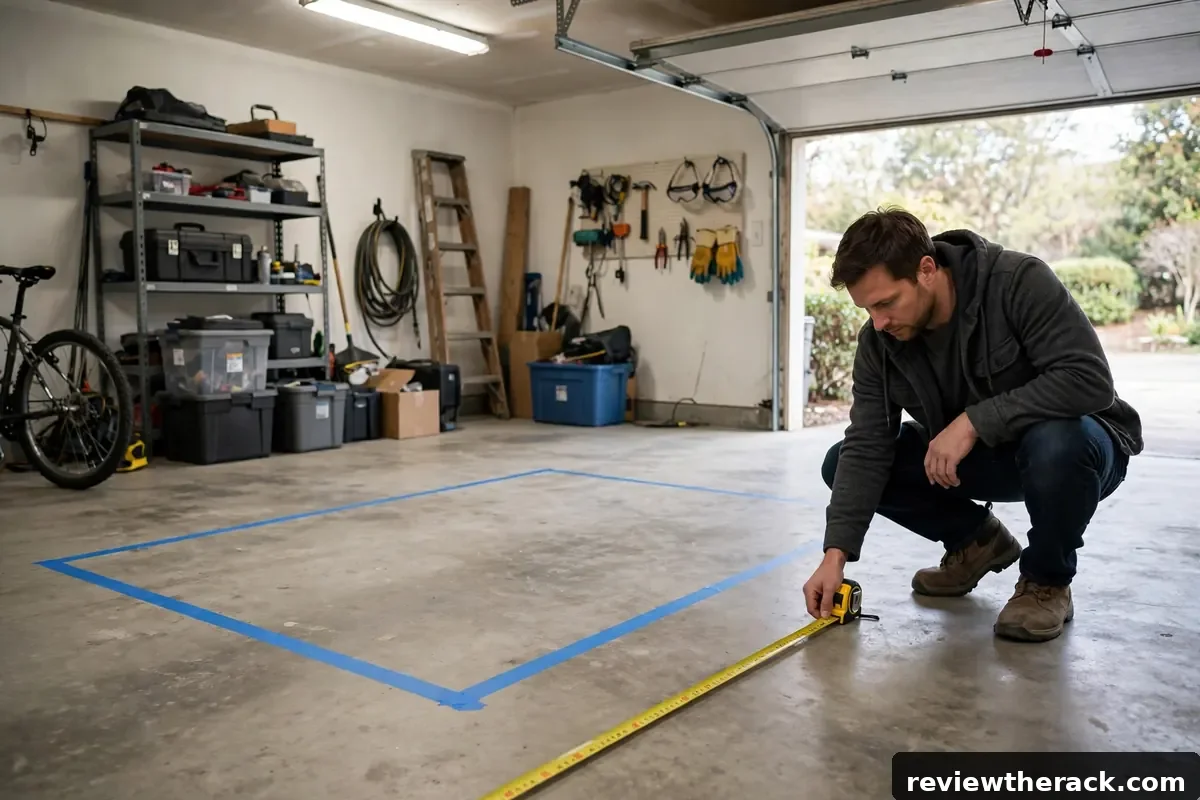
Also consider the path, not just the destination: stairs, narrow hallways, tight turns, and door widths. Measure the cabinet’s shipping dimensions (bigger than assembled) against every constriction on the route. “It fits in the room” is not the same as “it gets to the room.”
Power access
The ideal location has (or can get) a dedicated circuit for the rack — no sharing with kitchen appliances or office equipment. Check the breaker panel: is there space for a new circuit? What is the existing load on nearby circuits? Running a new dedicated circuit is electrician work, but it is the single best power investment for a serious rack. Our PDU sizing guide covers the load math; UPS sizing covers protection.
Also plan outlet placement: the UPS wants a direct wall connection (no strips, no extensions), and the run from outlet to rack should be short, protected, and trip-free. A rack in the ideal thermal spot with no nearby power is not in the ideal spot.
Ventilation and noise per location
Every location needs a heat exit strategy: where does the rack’s exhaust heat go? Options range from passive (the room is big and ventilated enough) to active (exhaust fan ducted out, mini-split AC, or tying into the home HVAC). Size the strategy to the load: a few hundred watts needs little; a kilowatt-plus in a small room needs a real plan. The cooling basics distinguish rack airflow from room heat removal — both need answers.
Noise follows the household, not the gear: map who hears what, when. A garage rack can be as loud as it wants; a spare-room rack answers to the people sleeping nearby. The quiet build guide is the companion here — location is the first and cheapest noise control.
Security and access
Match the location’s access control to the rack’s openness: open frames belong in locked rooms; enclosed locking cabinets tolerate shared spaces. Garages and basements need lockable doors; closets need locks if the gear matters. And keep the rack accessible to you: a rack buried behind storage in a crawl space will not get its filters cleaned or its batteries checked. Convenience drives maintenance — see physical security for the full picture.
The placement checklist
Before committing: floor loading verified (structure and path); dedicated power available or installable; heat exit strategy sized to the load; noise acceptable to the household at all hours; ventilation or AC planned for the worst month, not the average one; network connectivity (a cable run to the router — Wi-Fi backhaul for a lab is a compromise); physical security appropriate to the rack style; and service clearance — 600 mm+ front and rear, or casters to roll it out. Eight checks, and the location is a decision instead of a gamble.
Running network cable to the rack location
The perfect rack location with no network path is not the perfect location. Home-run cabling — dedicated runs from the rack back to the network core (router, main switch) — is the professional answer, and running cable is dramatically easier before the rack is loaded and the room is finished. Plan the runs alongside the location decision, not after.
What to run: at least two Cat6 runs (one for data, one for management/failover — redundancy you will use), plus a conduit or pull string for future pulls (the cheapest future-proofing in construction), and consider a fiber pair if the distance or the future justifies it (fiber is cheap; regretting its absence is expensive). Run cable through conduit or smurf tube where accessible — it protects the cable and makes the next pull trivial. Terminate at a patch panel in the rack (see our patch panel guide’s principles), test every run before the walls close, and label both ends. The cable you run today is the infrastructure for a decade; the hour it takes is the best-spent hour of the whole project.
Landlords, HOAs, and shared spaces
Not everyone owns their walls. Renters: check the lease before drilling for wall-mounts, running cable through walls, or installing dedicated circuits — most landlords approve reasonable requests in writing, and written approval protects your deposit. Favor non-invasive options where possible: freestanding racks (no wall damage), flat Ethernet cable under doors, and power from existing circuits with honest load math.
Noise is the neighbor issue, not the gear: a rack audible through shared walls generates complaints that no technical argument defeats. The quiet-build approach is not optional in apartments — it is the price of admission. Document your setup (photos, power draw, noise measurements) in case questions arise; a tidy, quiet, well-documented rack defuses most concerns before they become disputes. And check renter’s insurance coverage for the gear’s value — a homelab represents real money, and standard policies may need a rider. The social infrastructure matters as much as the steel: a rack your household and neighbors tolerate is a rack that survives.
Rack placement in small apartments
Small apartments compress every placement constraint simultaneously: no spare room, thin walls, limited circuits, and a household that did not sign up for a data center. The viable strategies: go small and quiet first — a wall-mount or compact cabinet with fanless/low-noise gear, not a 42U monument. A 9U wall bracket with a switch, patch panel, and a mini-PC host delivers genuine homelab value at a fraction of the footprint, power, and noise.
Location triage for apartments: entryway closets (often have power, out of living sightlines — ventilate the door), under-desk nooks (only for truly quiet gear), and balconies or utility ledges (weather and security rule these out for most gear, but network-only equipment in rated enclosures occasionally works). The circuit reality: apartments rarely offer dedicated circuits, so honest load math on shared circuits is mandatory — know what else shares the breaker (kitchen and bathroom circuits are the classic trip hazards). And the exit strategy: freestanding over wall-mounted where the lease is uncertain, because the rack that can move with you is the rack you keep.
Thinking about resale and moving
Racks are semi-permanent: more permanent than furniture, less than plumbing. When choosing a location, consider the next move — whether that is your next apartment or the next owner’s use of the room. In-wall cable runs and dedicated circuits add genuine value to a property (document them for the next occupant); wall damage from removed mounts subtracts it (budget the patch-and-paint). Freestanding cabinets move with you; built-in infrastructure stays and should be documented as a feature, not abandoned as a mystery.
For renters especially: photograph the pre-installation state of walls and floors, keep all original hardware for anything you modify, and restore on exit. The deposit math is simple — an hour of patching beats a withheld deposit. And when buying gear for a location you might leave, prefer the portable investments (the rack, the UPS, the switch — all move with you) over the fixed ones (custom in-wall runs in a rental). The lab is yours; the walls are borrowed. Invest accordingly.
Frequently asked questions
Can I put a rack in a bedroom closet?
Only with active ventilation and quiet gear — otherwise heat and noise make it miserable. A louvered door plus an exhaust fan is the minimum viable closet.
Is the garage too dusty for servers?
It can be. Enclosed cabinets with filtered/brushed entries handle it; open frames in dusty garages need frequent cleaning. Monitor and clean on schedule.
How much clearance does a rack need?
Plan 600 mm+ in front (door swing, sliding servers) and behind (cabling, service), or put the cabinet on casters to roll it out. Tight clearances make every task harder.
Basement humidity — how much is too much?
Sustained high humidity corrodes over time. If the basement feels damp, run a dehumidifier and monitor — sensor-equipped monitoring watches it for you. See cooling trends for where monitoring is heading.
Related guides: matching form factor to the room and cooling directions for 2026.